
10 шт. золотистая серебряная настенная угловая защитная наклейка L-образная
888

Сохраните в закладки:


*История изменения цены! Указанная стоимость возможно, уже изменилось. Проверить текущую цену - >
| Месяц | Минимальная цена | Макс. стоимость | Цена |
|---|---|---|---|
| Feb-20-2026 | 5795.87 руб. | 5911.85 руб. | 5853 руб. |
| Jan-20-2026 | 4700.76 руб. | 4794.77 руб. | 4747 руб. |
| Dec-20-2025 | 5704.66 руб. | 5818.59 руб. | 5761 руб. |
| Nov-20-2025 | 5658.32 руб. | 5771.32 руб. | 5714.5 руб. |
| Oct-20-2025 | 4517.60 руб. | 4607.4 руб. | 4562 руб. |
| Sep-20-2025 | 5567.18 руб. | 5678.50 руб. | 5622.5 руб. |
| Aug-20-2025 | 5521.47 руб. | 5631.28 руб. | 5576 руб. |
| Jul-20-2025 | 5476.44 руб. | 5586.77 руб. | 5531 руб. |
Новые товары
Характеристики
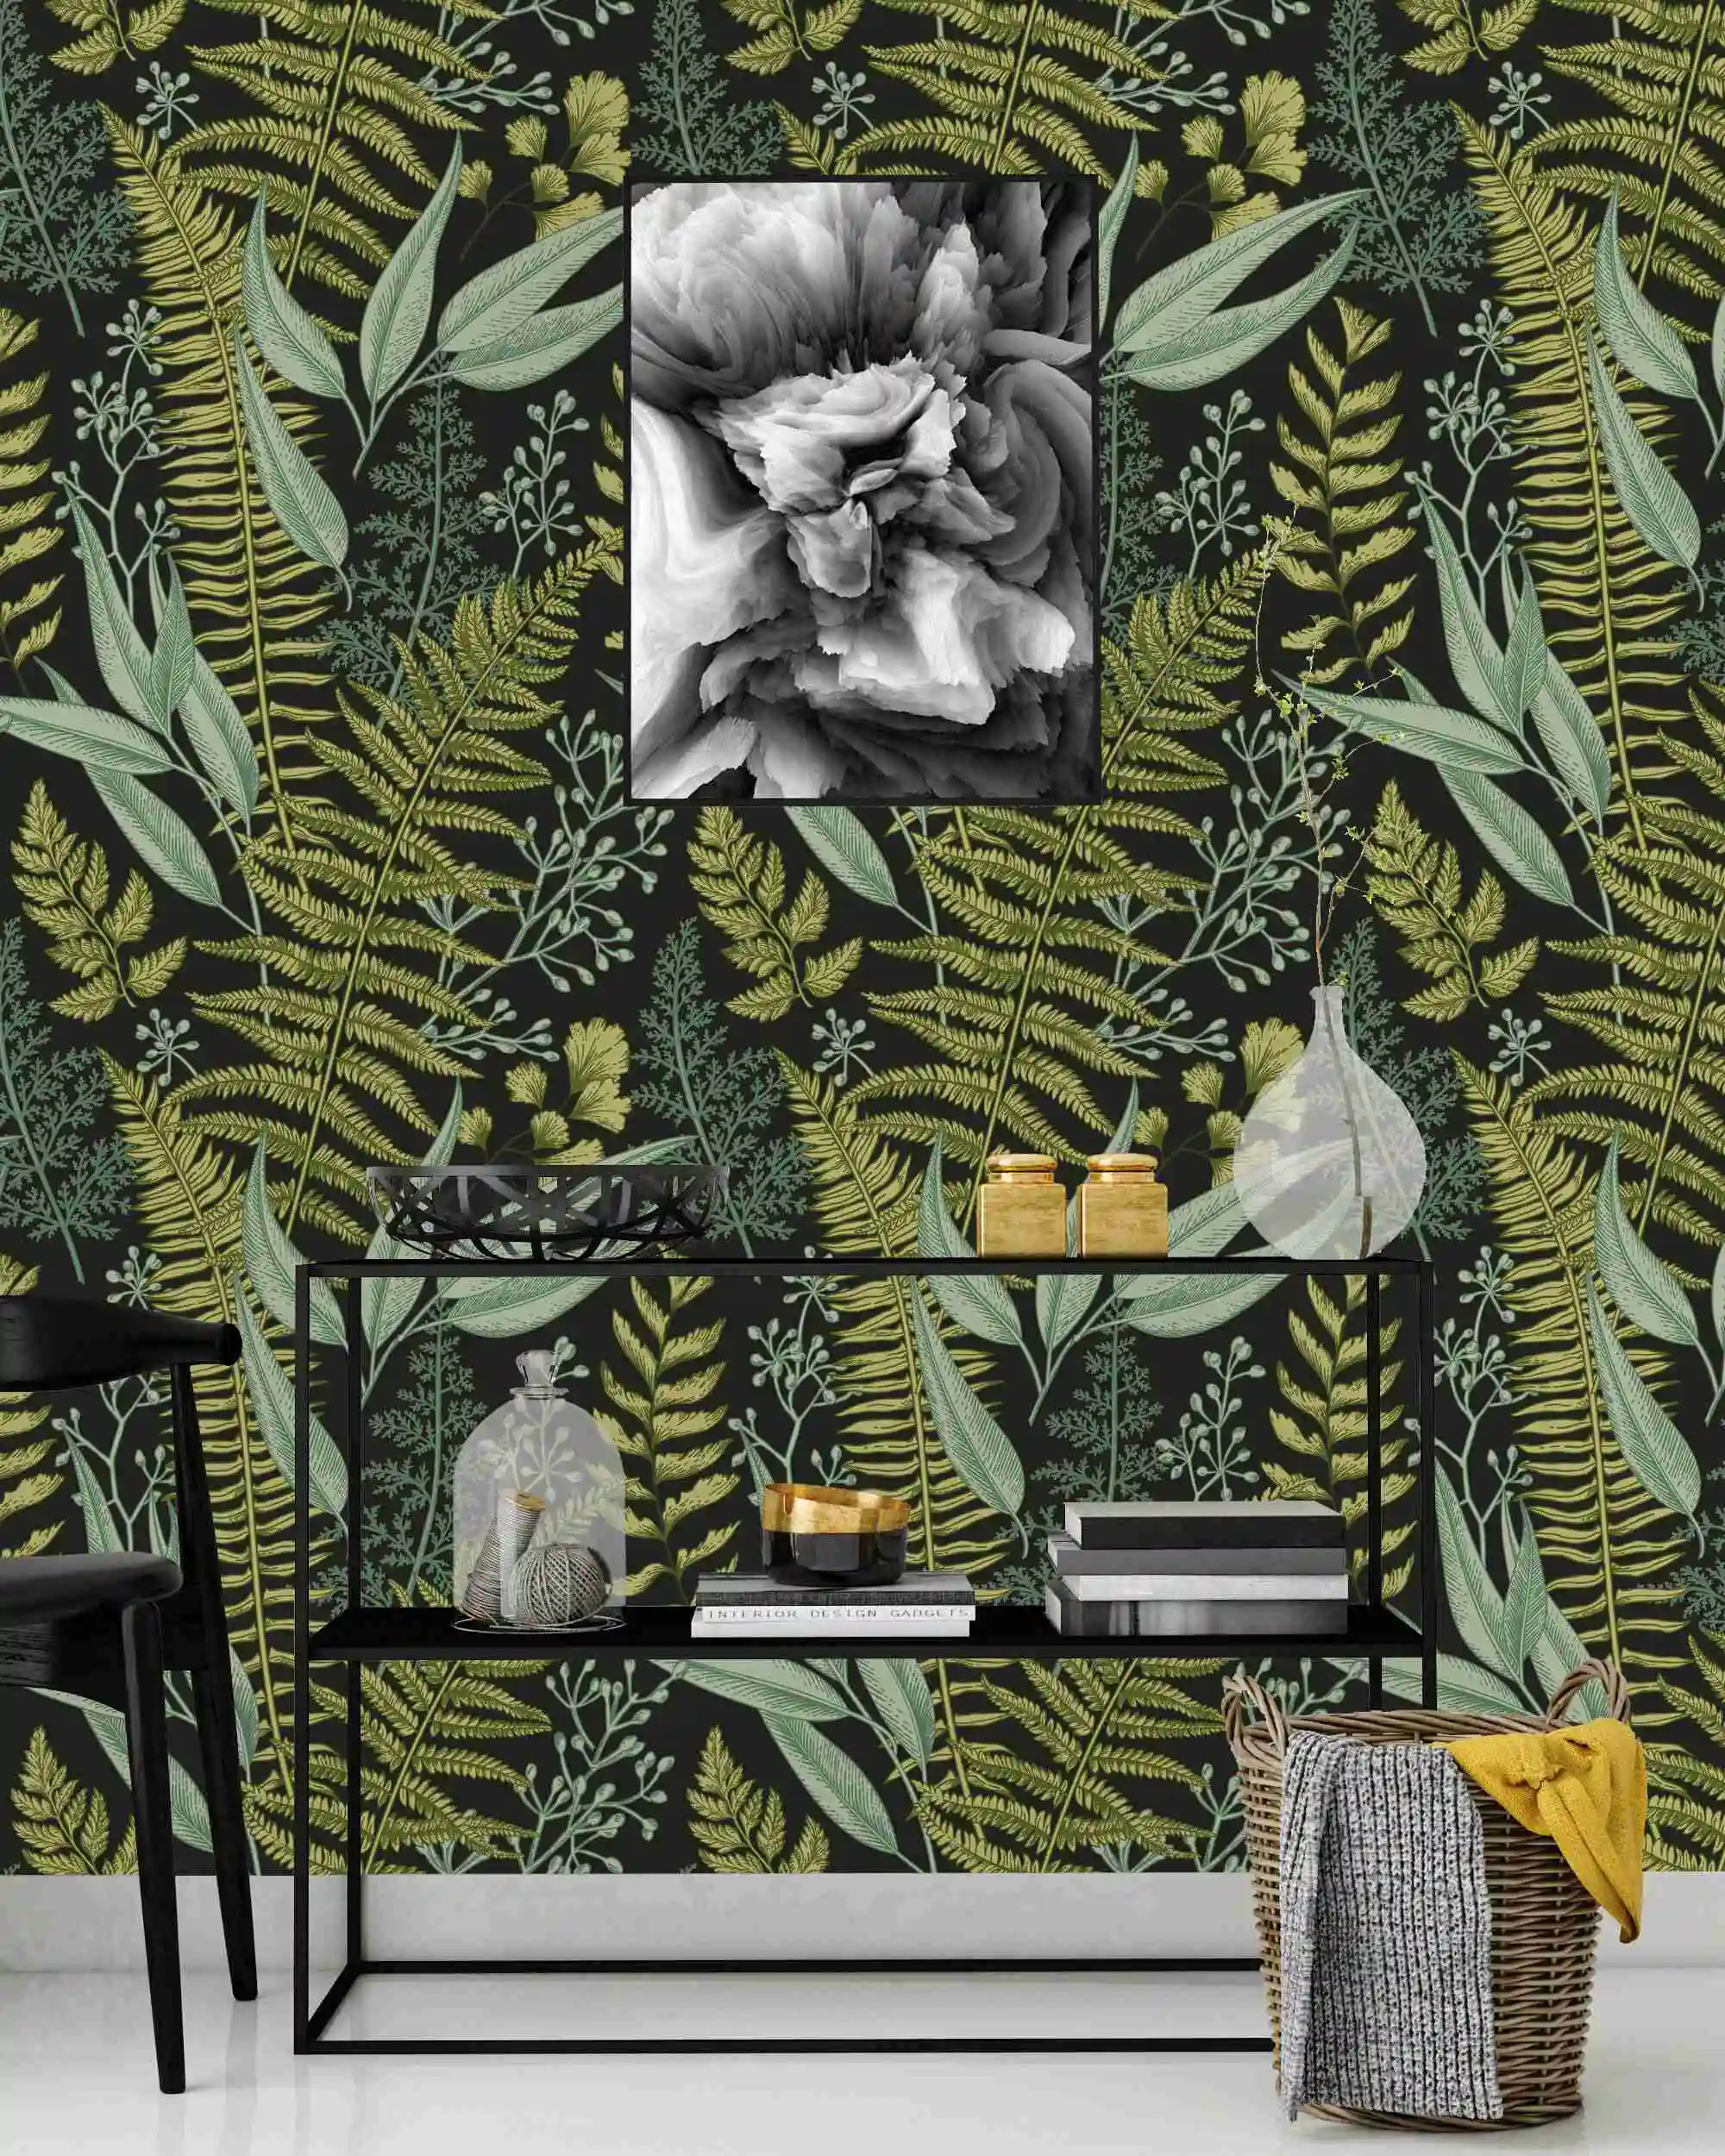
Описание товара


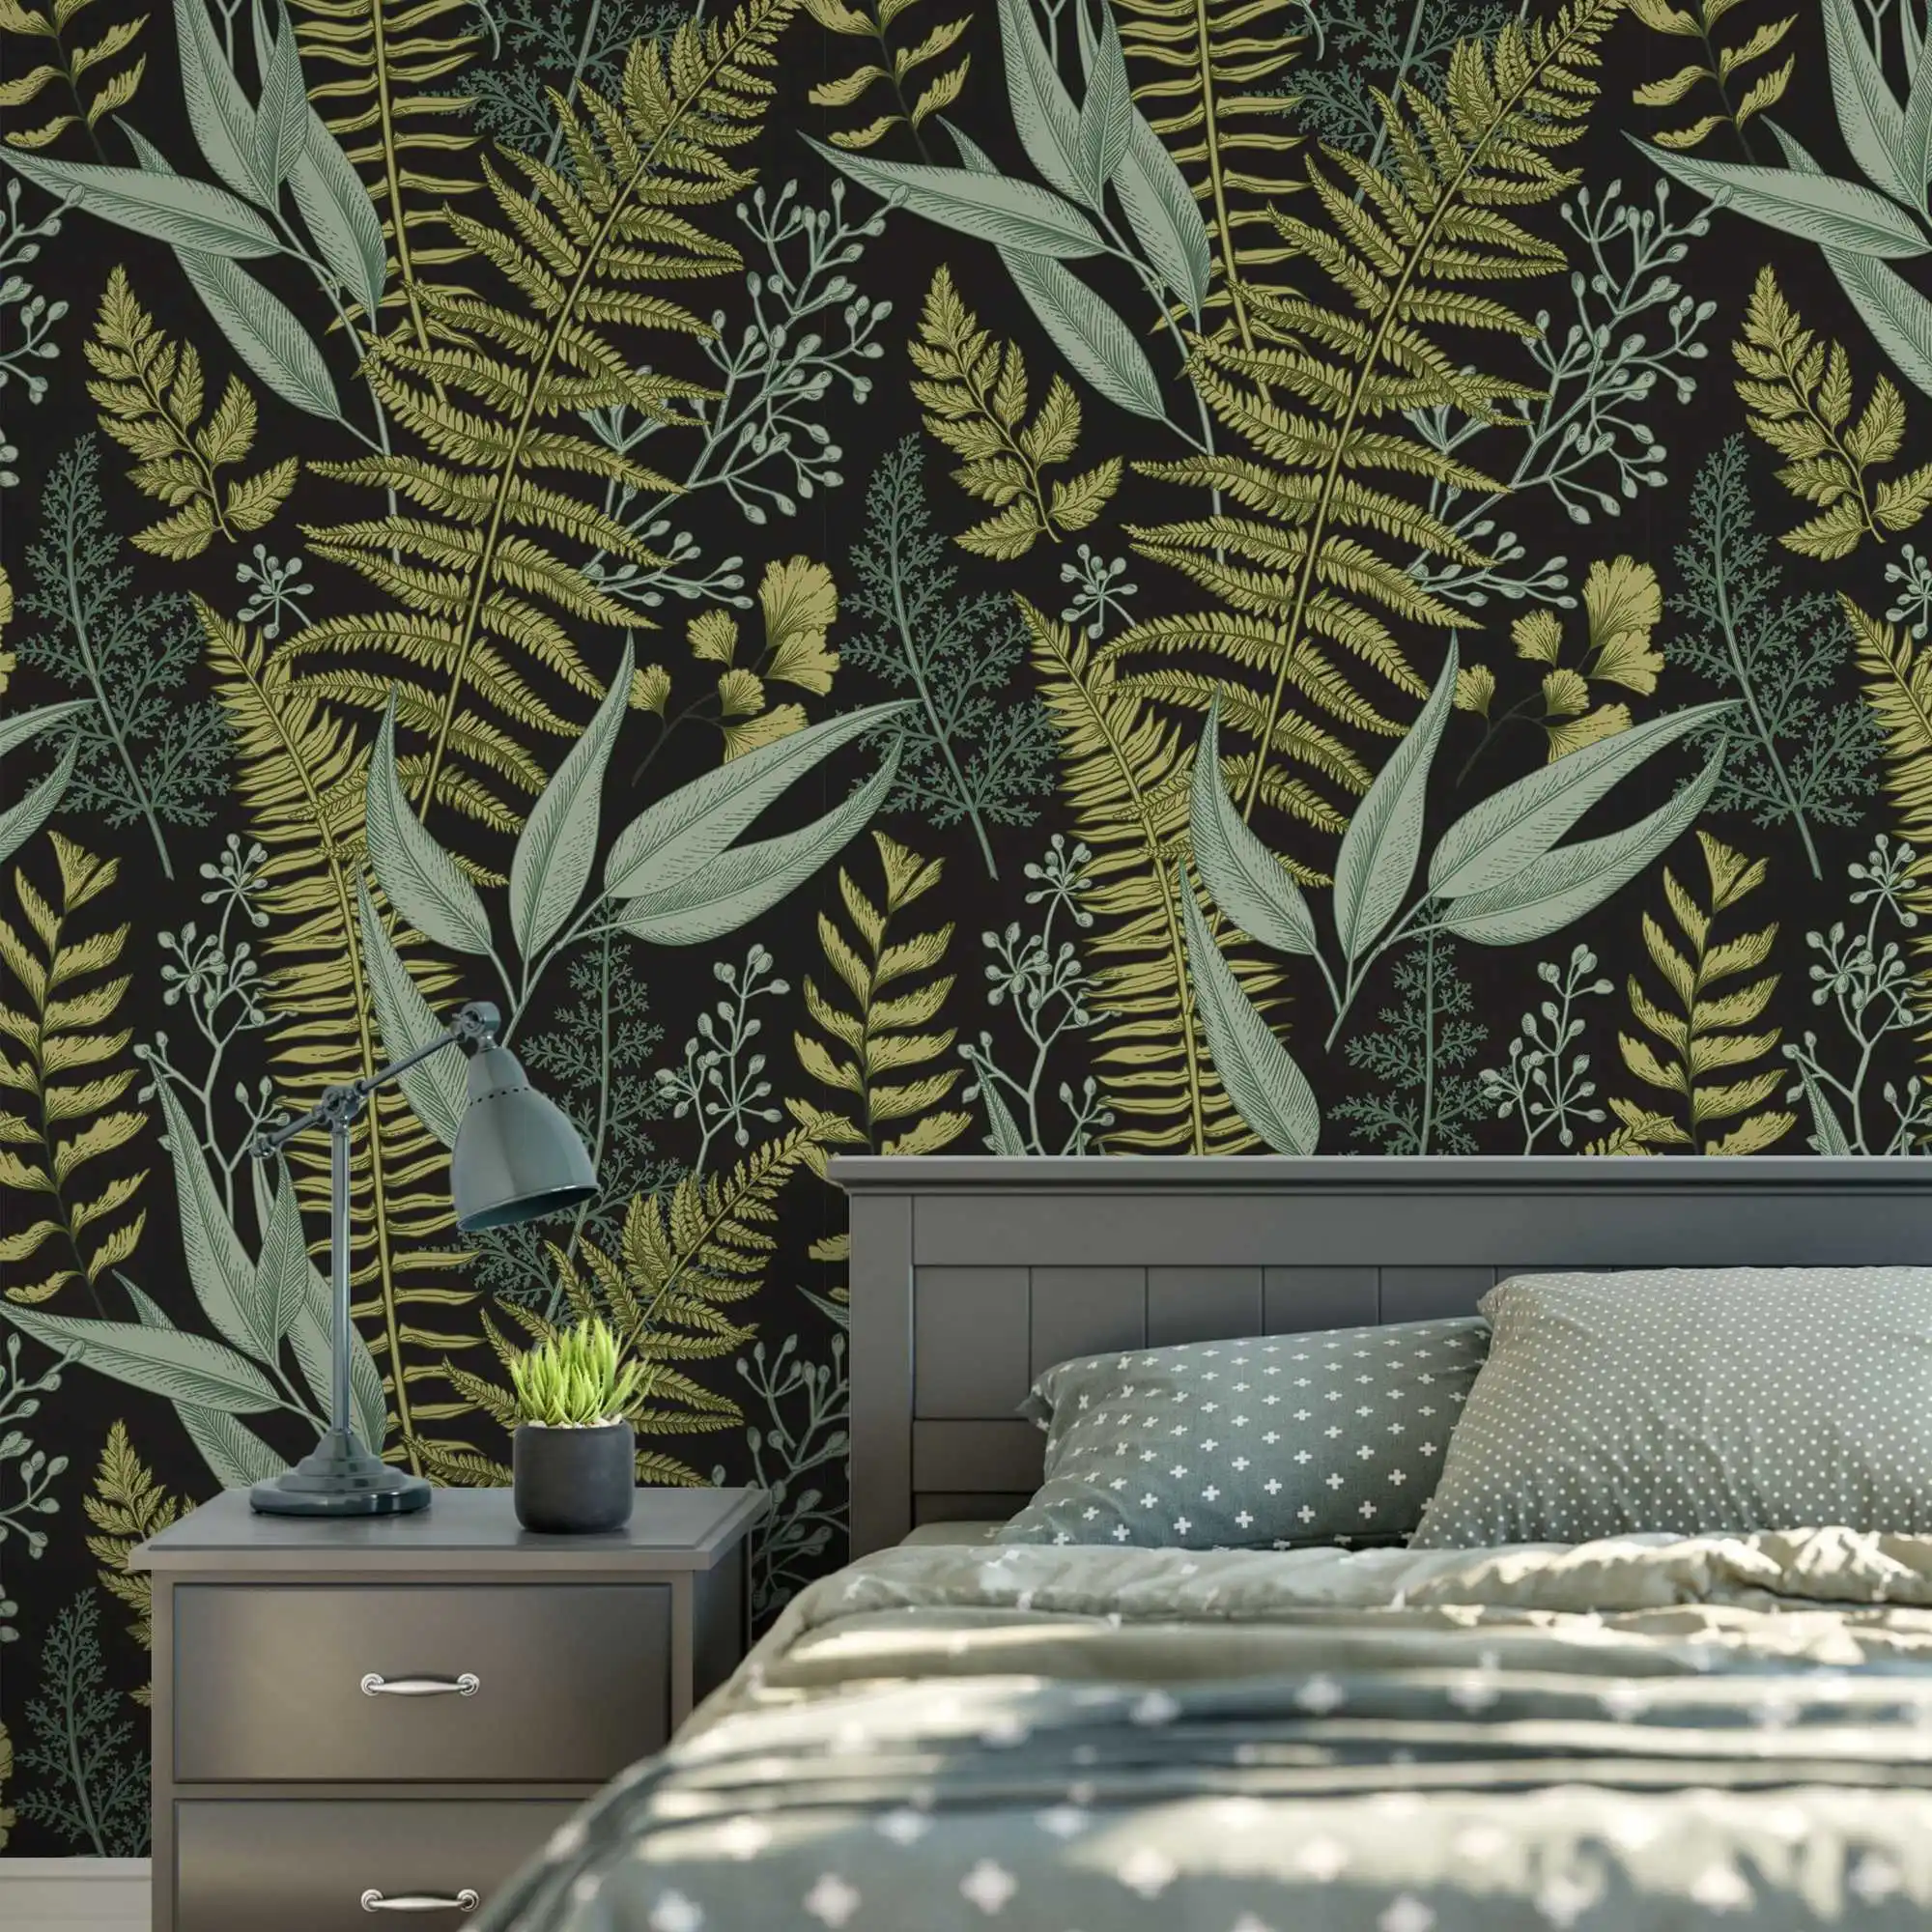
STEP 1: Prepare the wall surface
Your wall must be completely flat, clean and dry. Levels rough surfaces, rough, holes and uneven spots. Your wall should be a uniform color. If not, you may notice differences in color on your wall once installed. If your wall has multiple colors, we recommend that you paint again. Make a vertical line with a plumb line on the left edge of the area you want to cover with the mural. If you have a plumb, one can make your own by tying a heavy object on the end of a rope. This line is very important because it is the guide to start placing your mural.STEP 2: Prepare the wallpaper
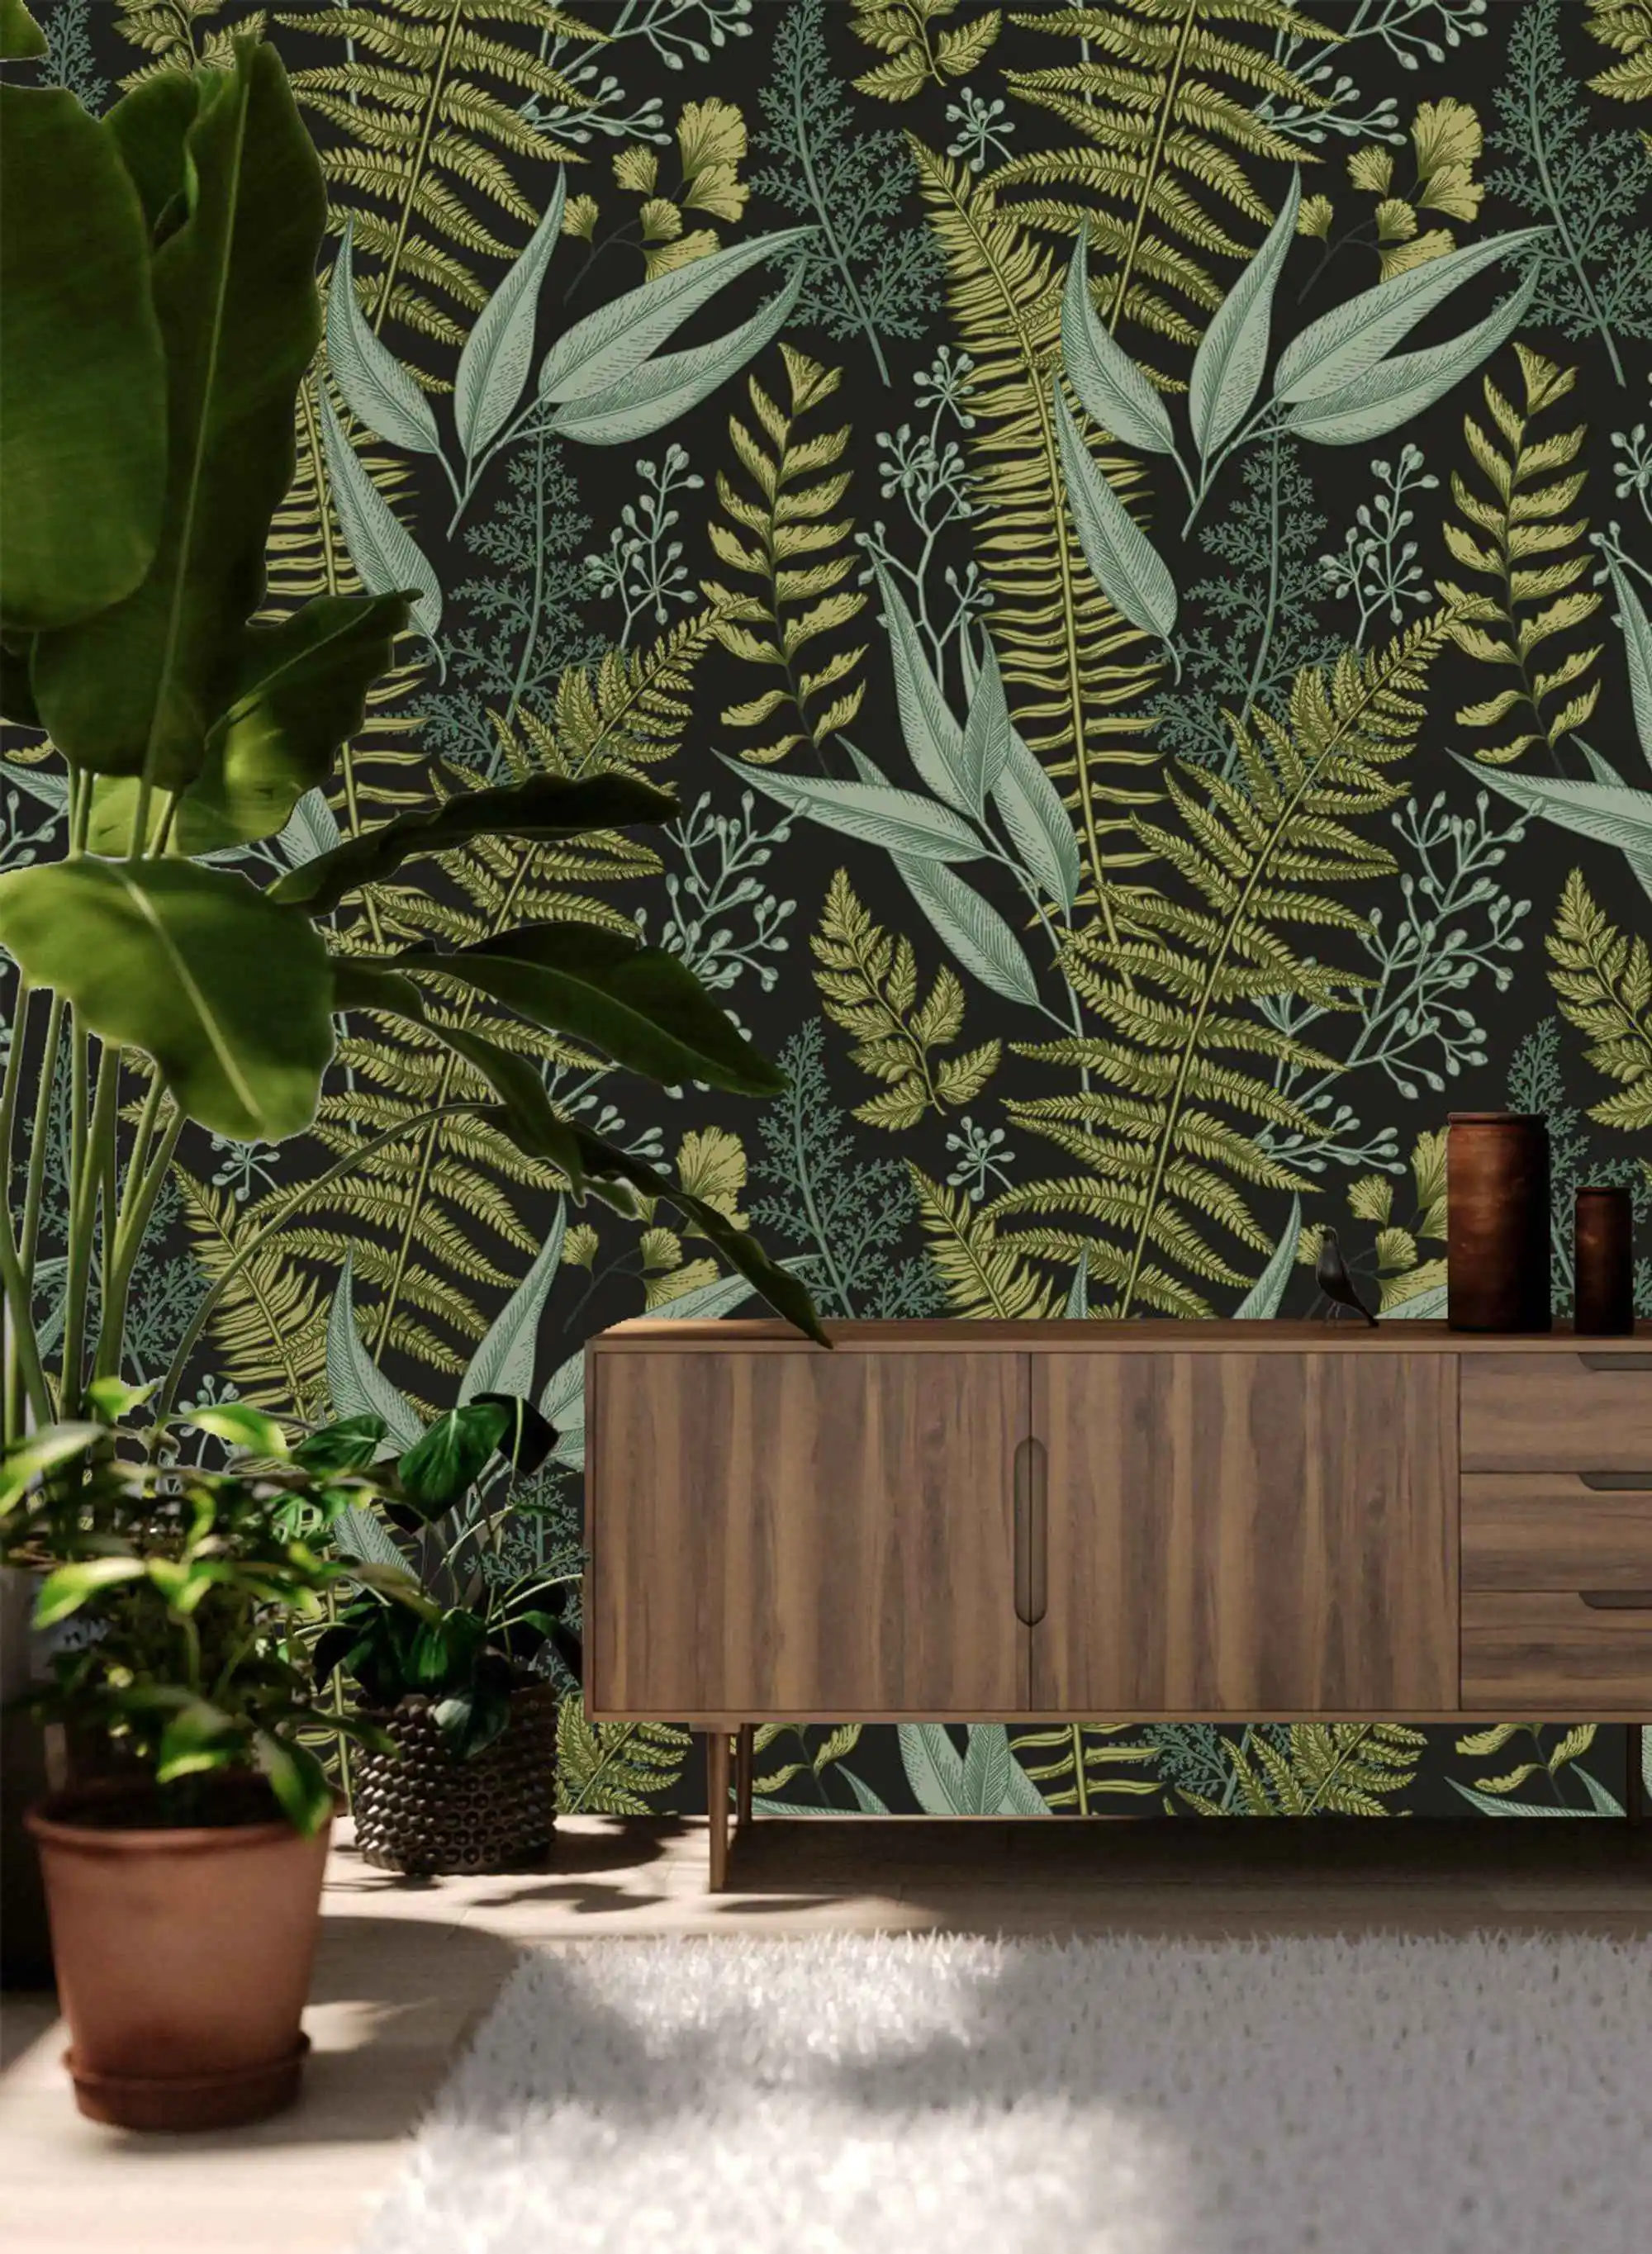
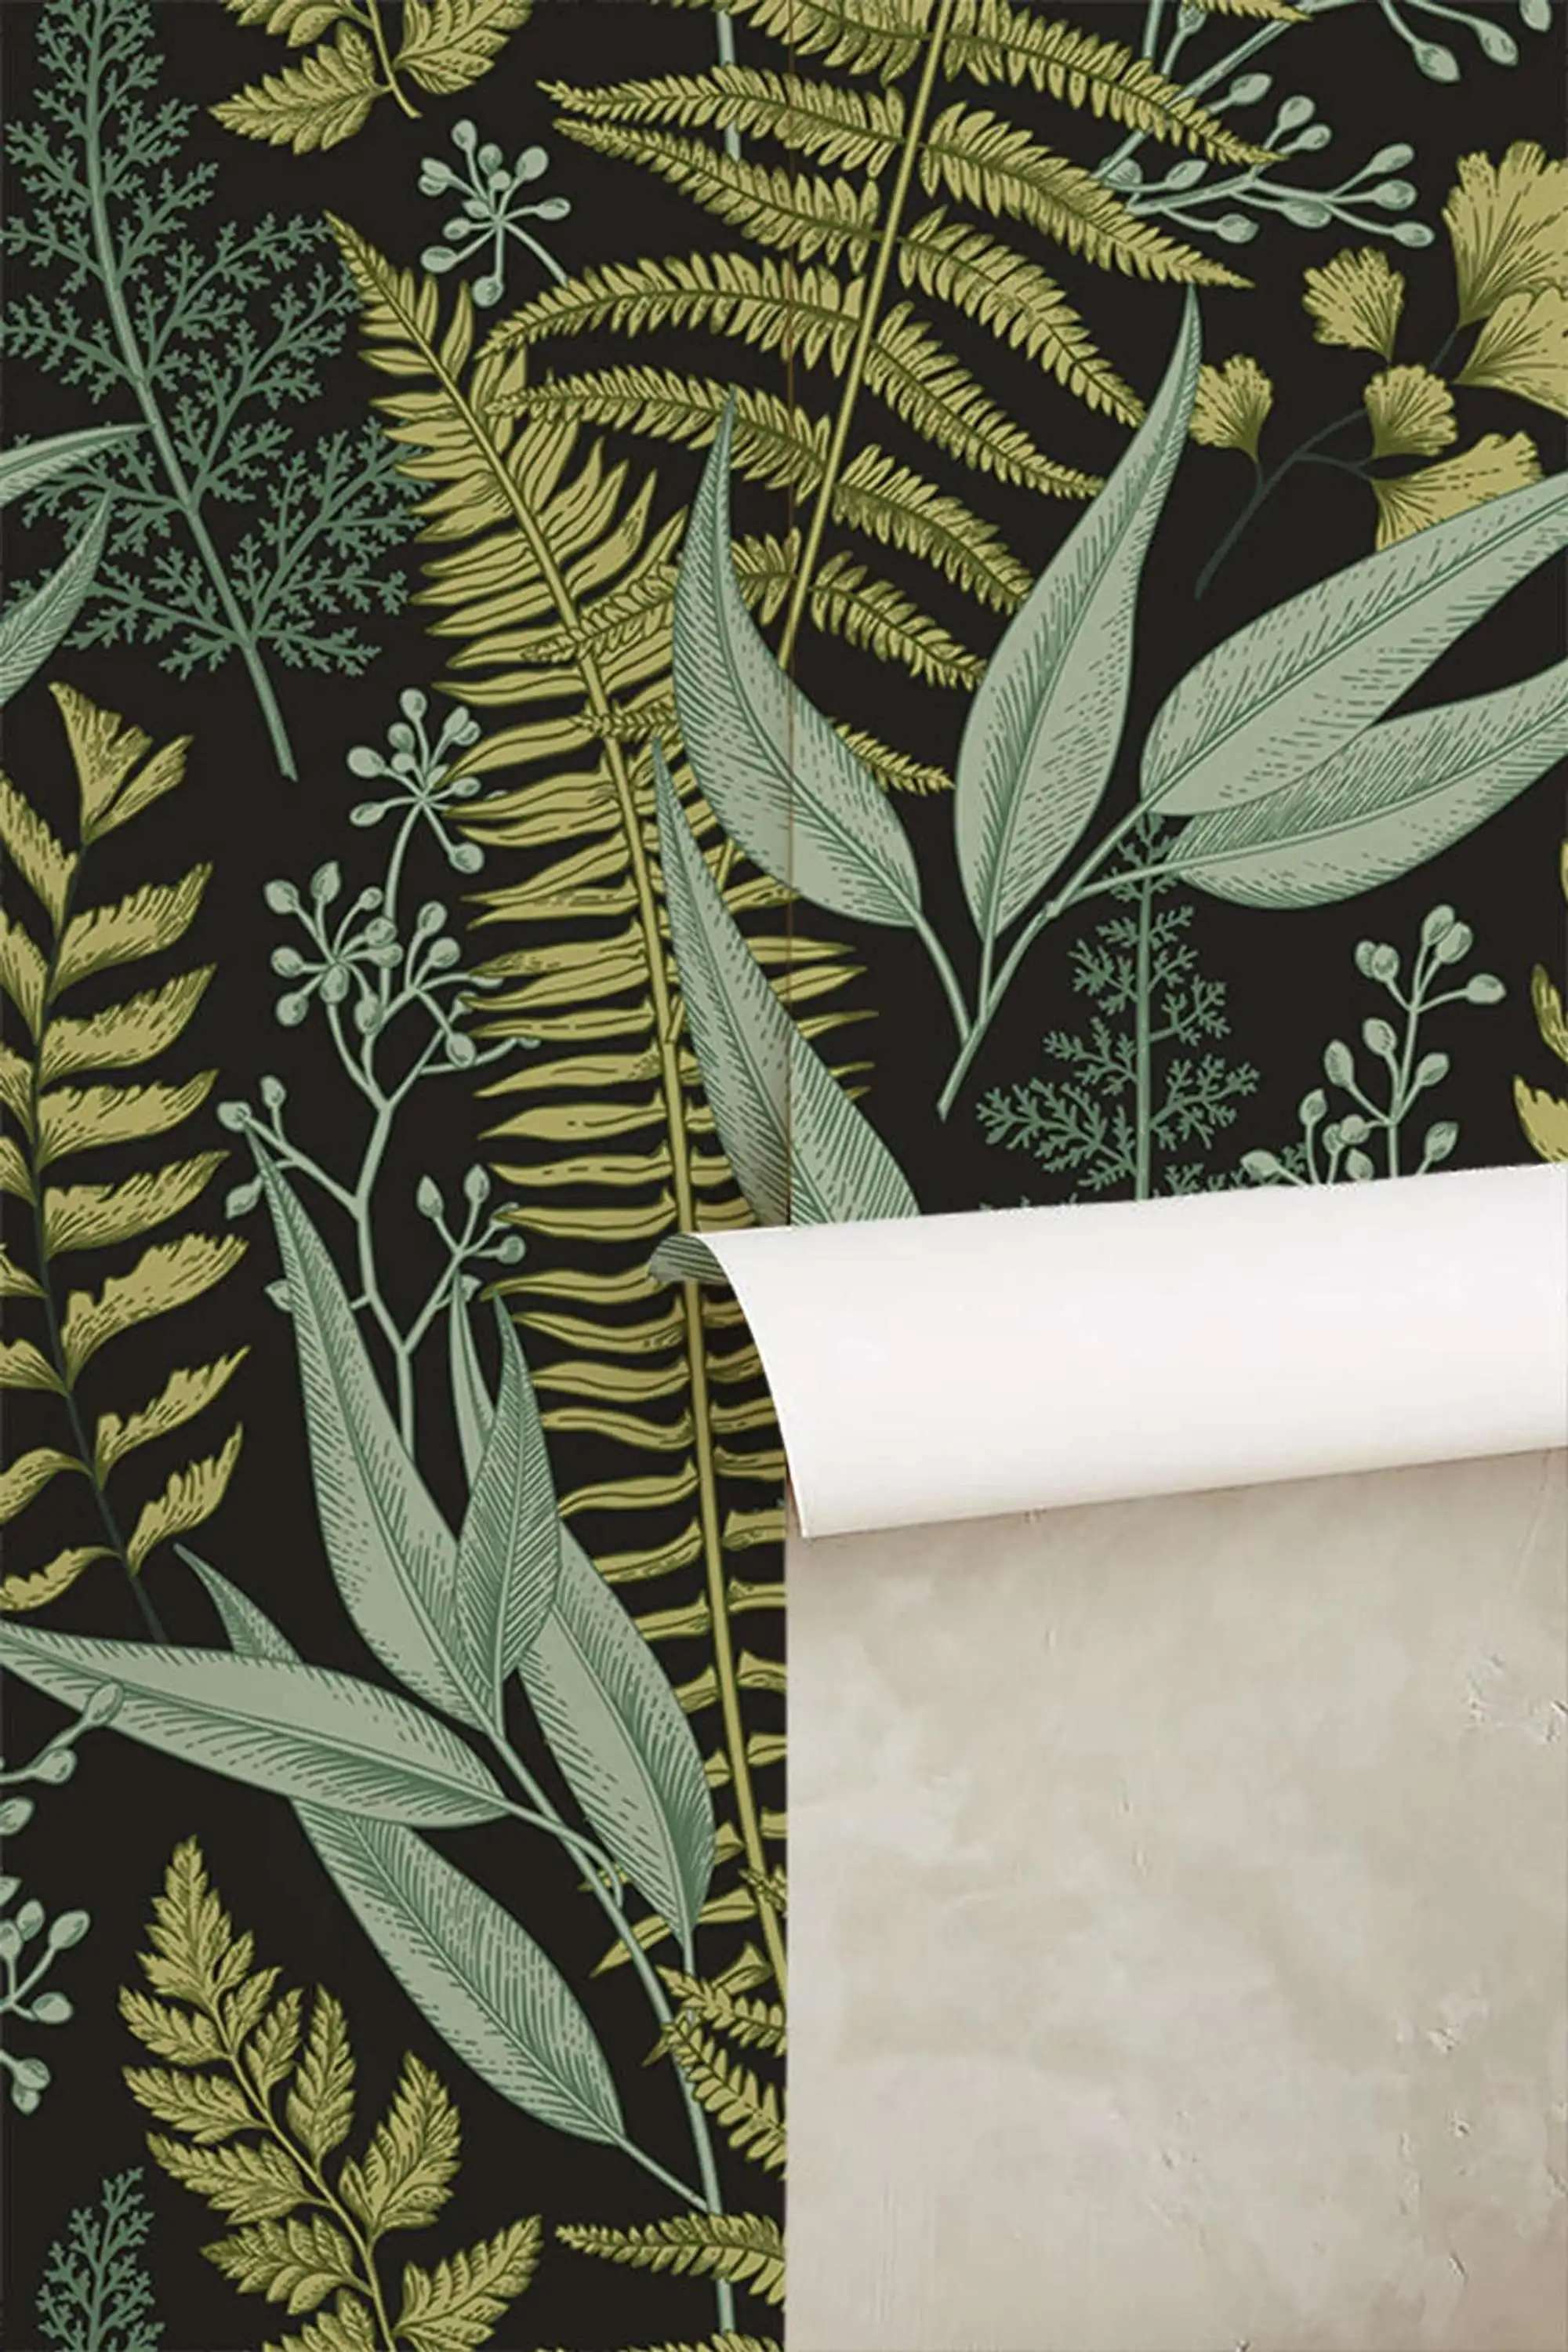
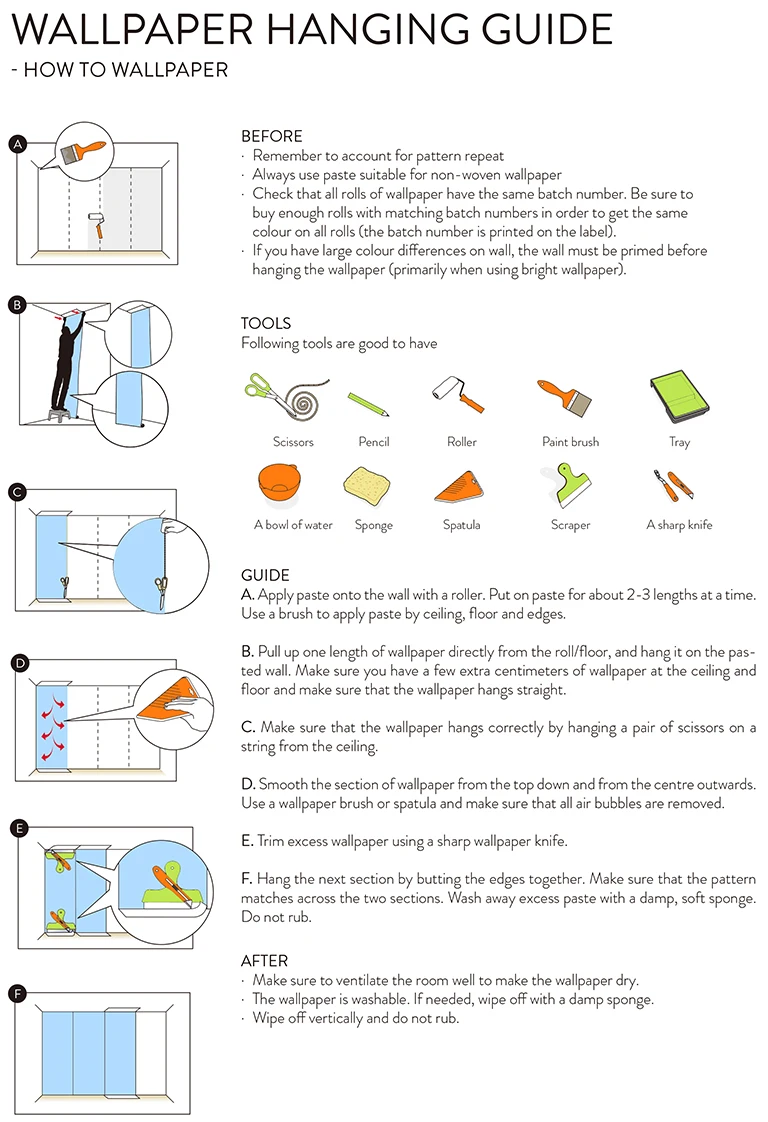
The wallpaper panels are made with a width of 48.7 cm(19.2"). Panels are received printed continuously on a roll and numbered at the top. Cut independent panels and do a preview on the ground following the numerical order from left to right. Measure with a meter the height of your wall. If it's less than the photomural, you must cut it to fit properly. Do it while you have it on the floor but leave a margin of an inch to correct any differences in level on the wall.STEP 3: Prepare the glue
You may buy the glue from your supermarket, confirm it's for non-woven wallpaper use. Prepare the glue following the instructions on the bag of the glue you bought. Do it slowly. So you will obtain a uniform mixture and without bubbles.STEP 4: Attach the paper to the wall
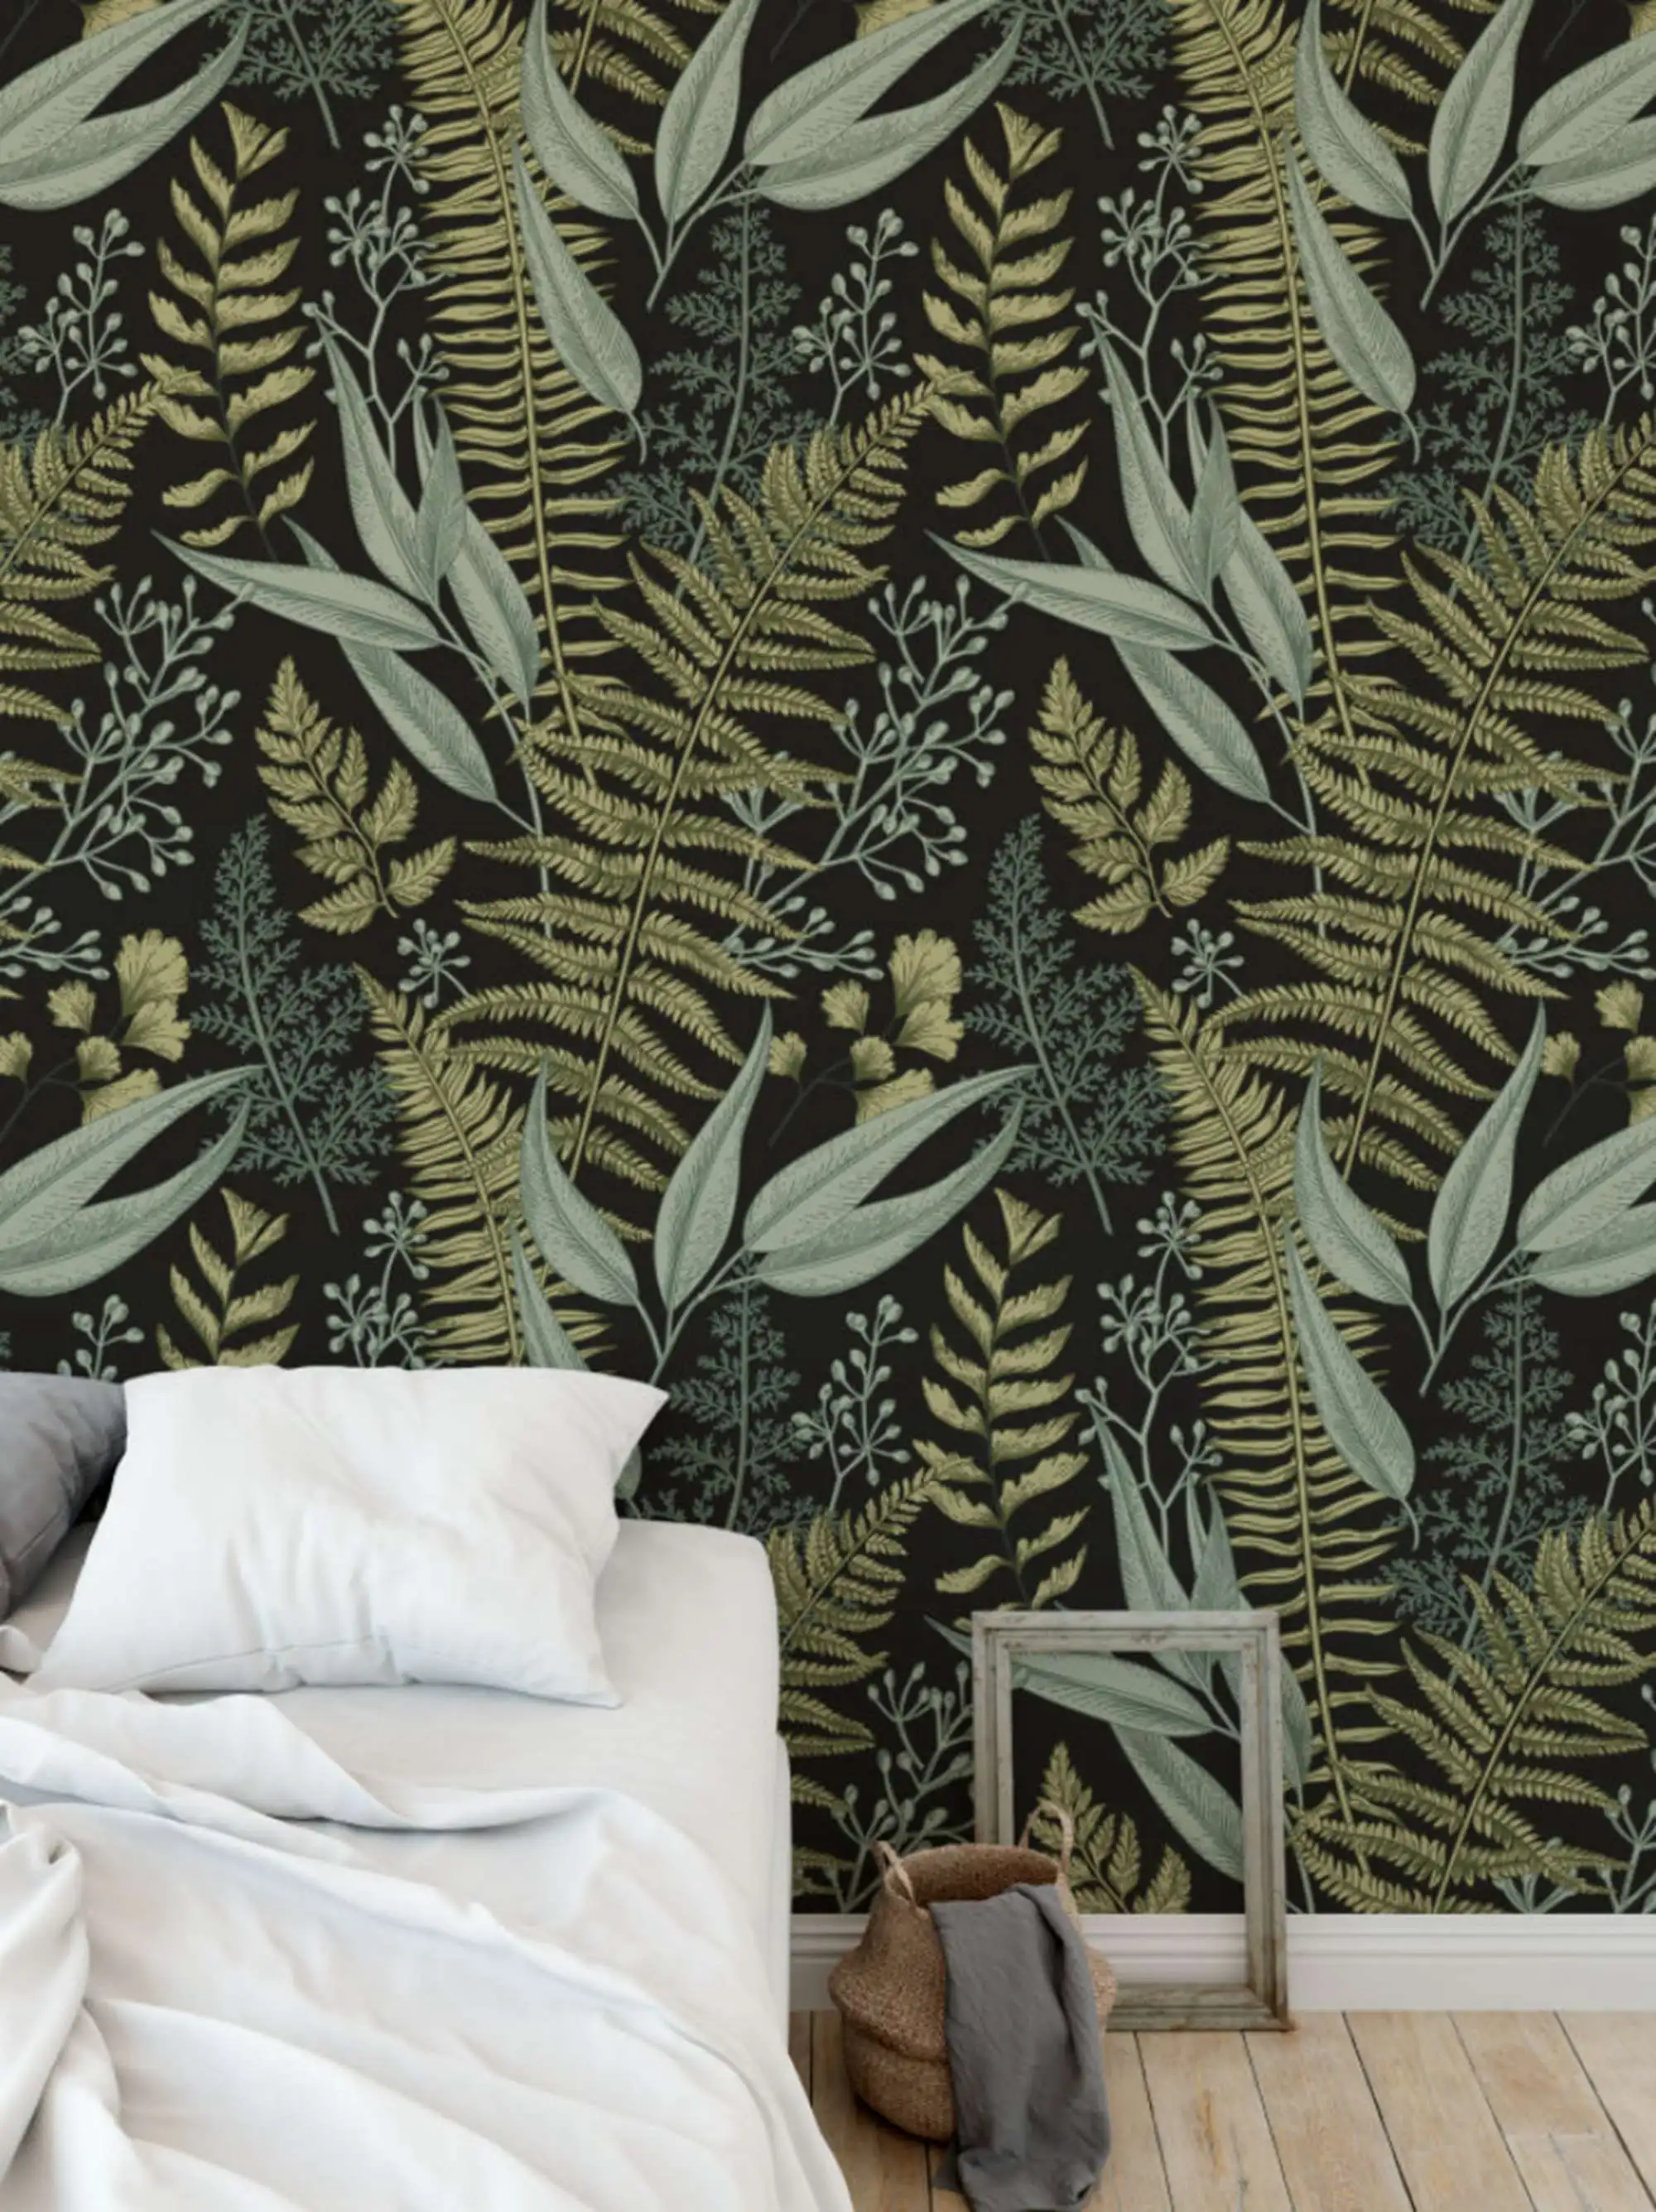
Applying glue on the wall evenly using a brush or a paint roller. Start distributing from the line you marked as a guide to the plummet. Don't paste the entire wall, do it only in the area that will cover the first panel on the left, leaving a few inches outside the right. Apply the first panel of the mural on the wall starting at the top left. Check that is aligned with the guide. Presses against the paper with a dry roller or sponge to remove any air bubbles. Place the following panels in the same way in numerical order. The panels must not be mounted on each other but are set on edge. Clean the excess glue with a damp sponge.STEP 5: Finishing
With the help of a ruler and a cutter, adjust the sides and the top and bottom of the wall if necessary. Let dry 24 hours; you will get a perfect final result

Купила мужу в подарок. Очень вместительная сумка, под все документы, ключи, необходимые личные вещи. Изготовлена из качественного материала, не теряет... Читать отзыв полностью...

Брали для сына, благодаря удобной таблице размеров подобрали идеальный вариант. Подошло и по росту, и по рукавам, и в плечах... Читать отзыв полностью...


Крайне удобно для большого участка. Пользовался всегда бензиновой, т.к. невозможно таскать с собой переноску. Но бензиновая слишком тяжелая и быстро... Читать отзыв полностью...

Хочу оставить отзыв ???????. В качестве подарка брала кошелек. Просто отличный. Есть место для хранения визитных карт. Вместительный. Подруга очень... Читать отзыв полностью...

Качественная модель. Хорошо окрашена, тщательно проработаны все мелкие элементы, практически с точностью копирующие особенности настоящего автомобиля. Прицеп надежно крепится к... Читать отзыв полностью...


Очень забавные картинки. Увлекательное время провождение. Кто не умеет рисовать, но так хочет, прекрасно подойдет. Будет чем занять ребенка. Красивые,... Читать отзыв полностью...