

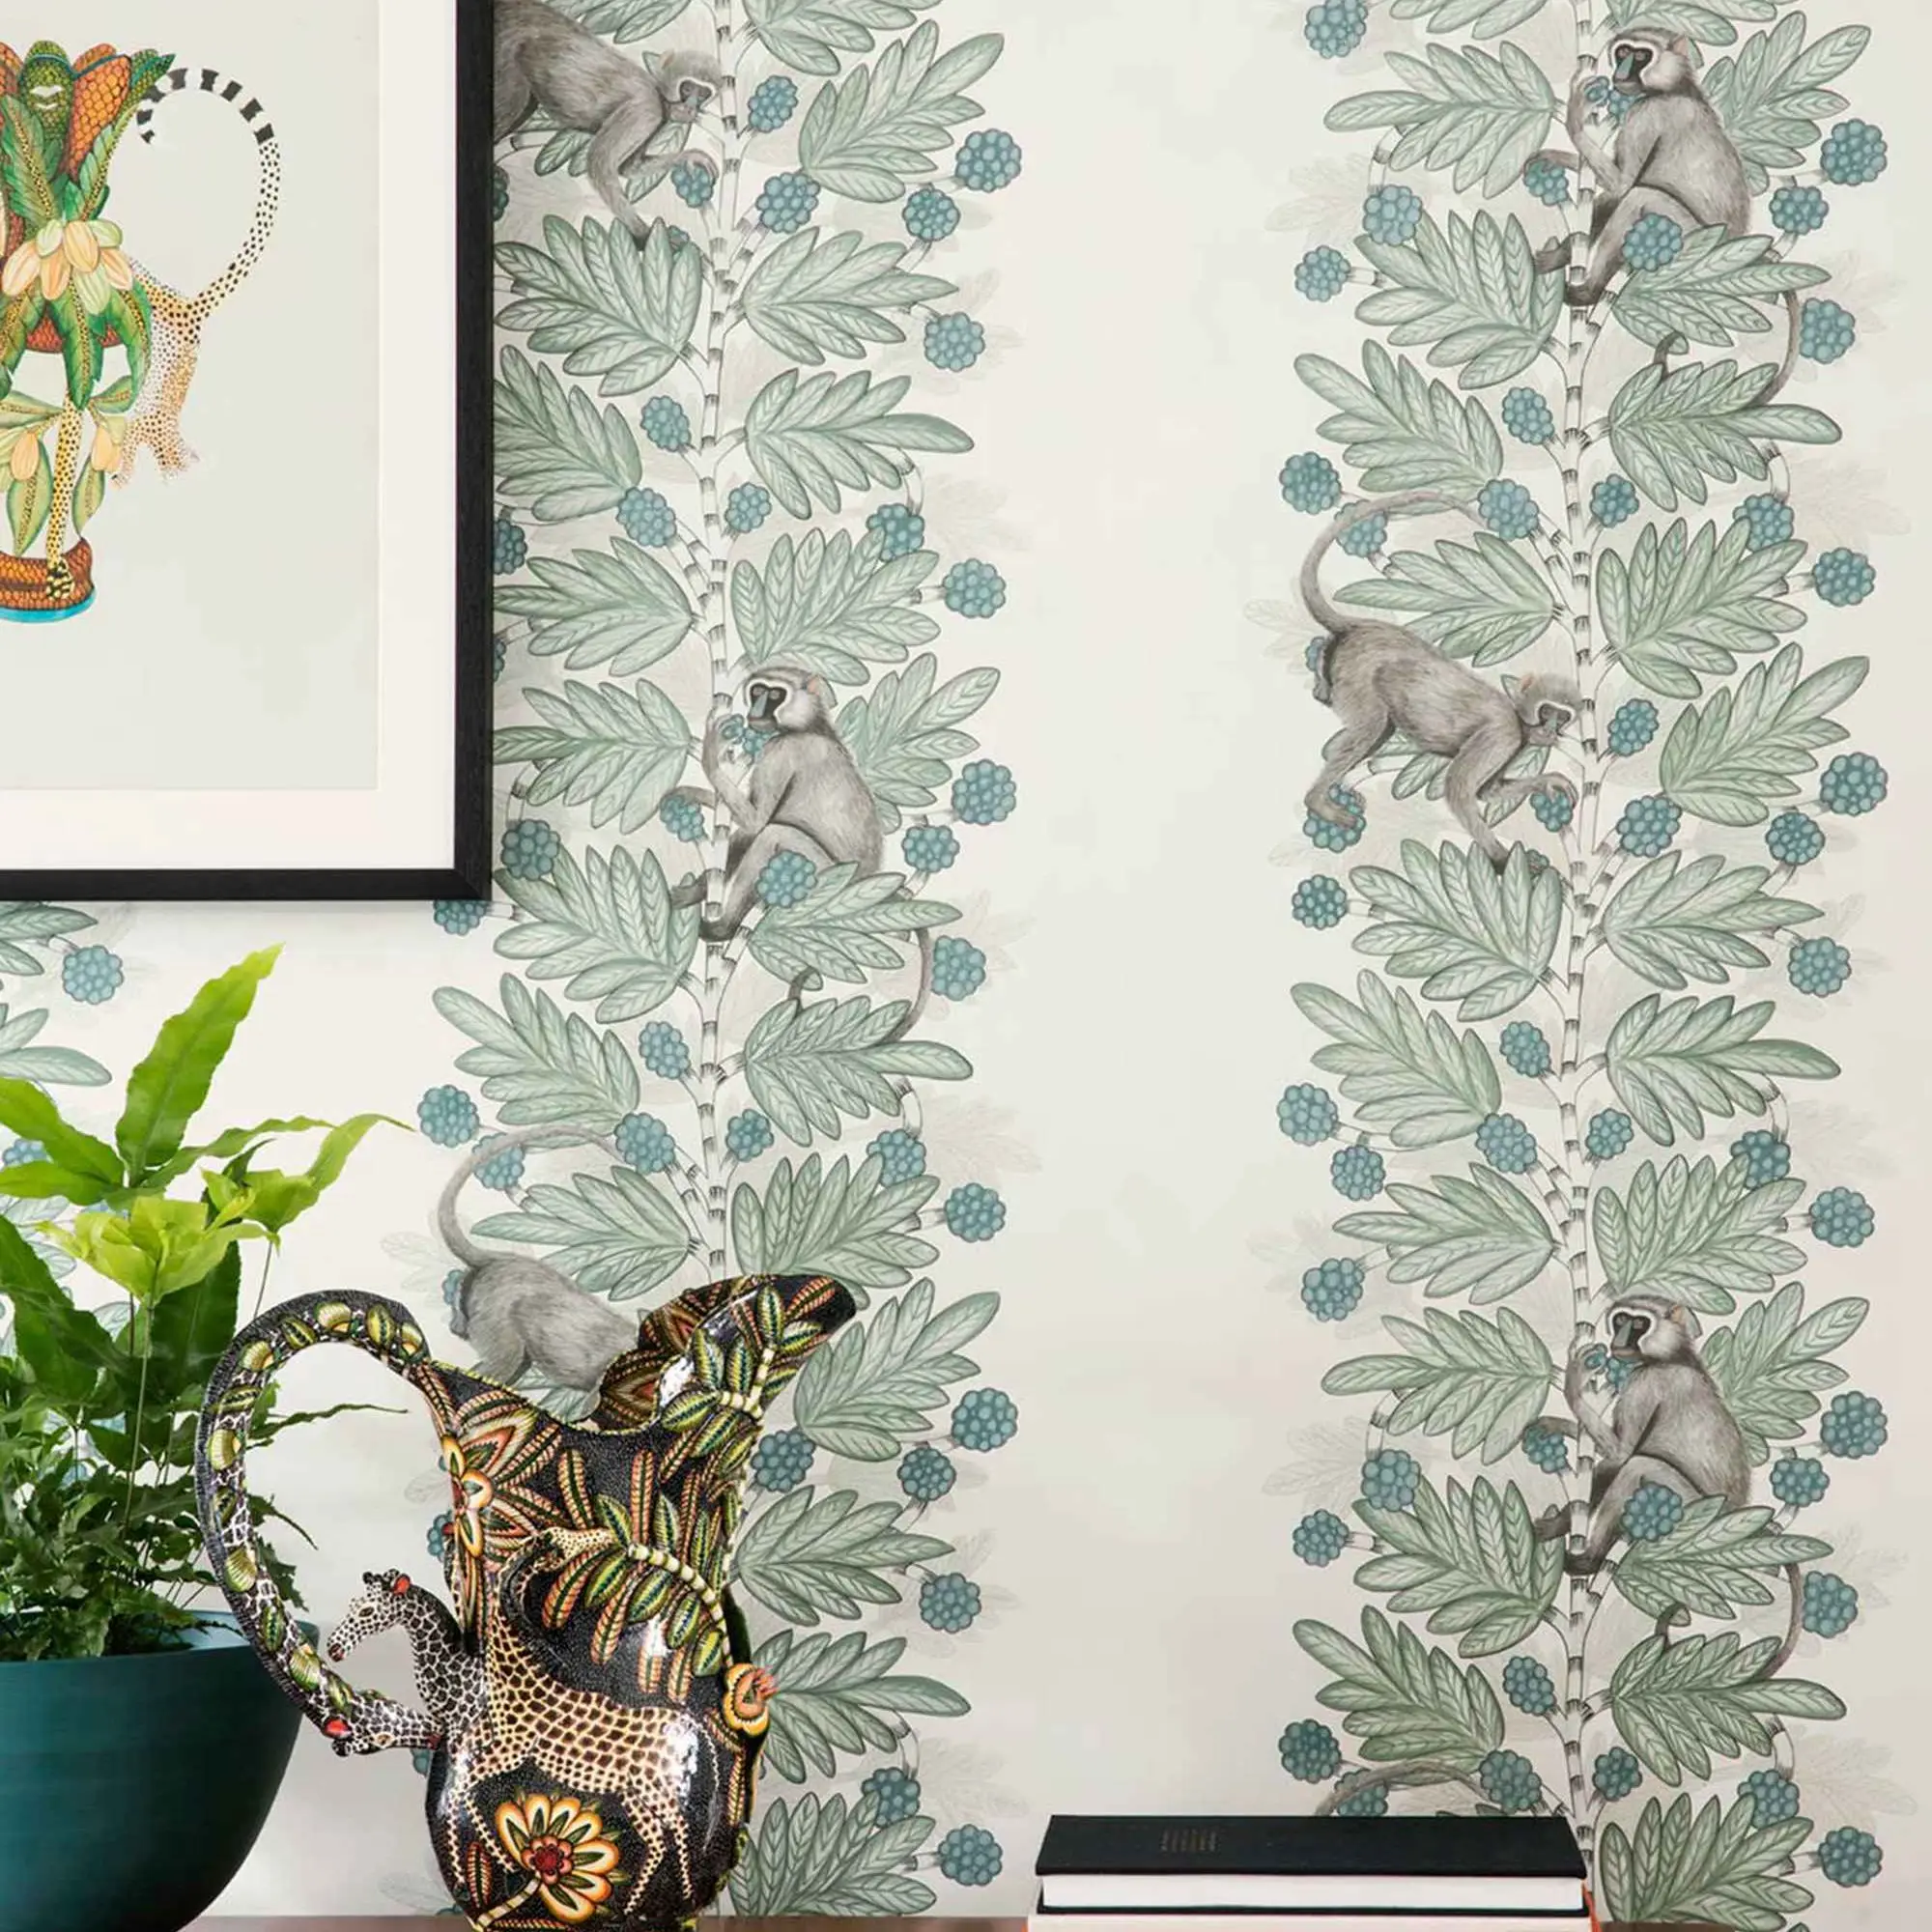
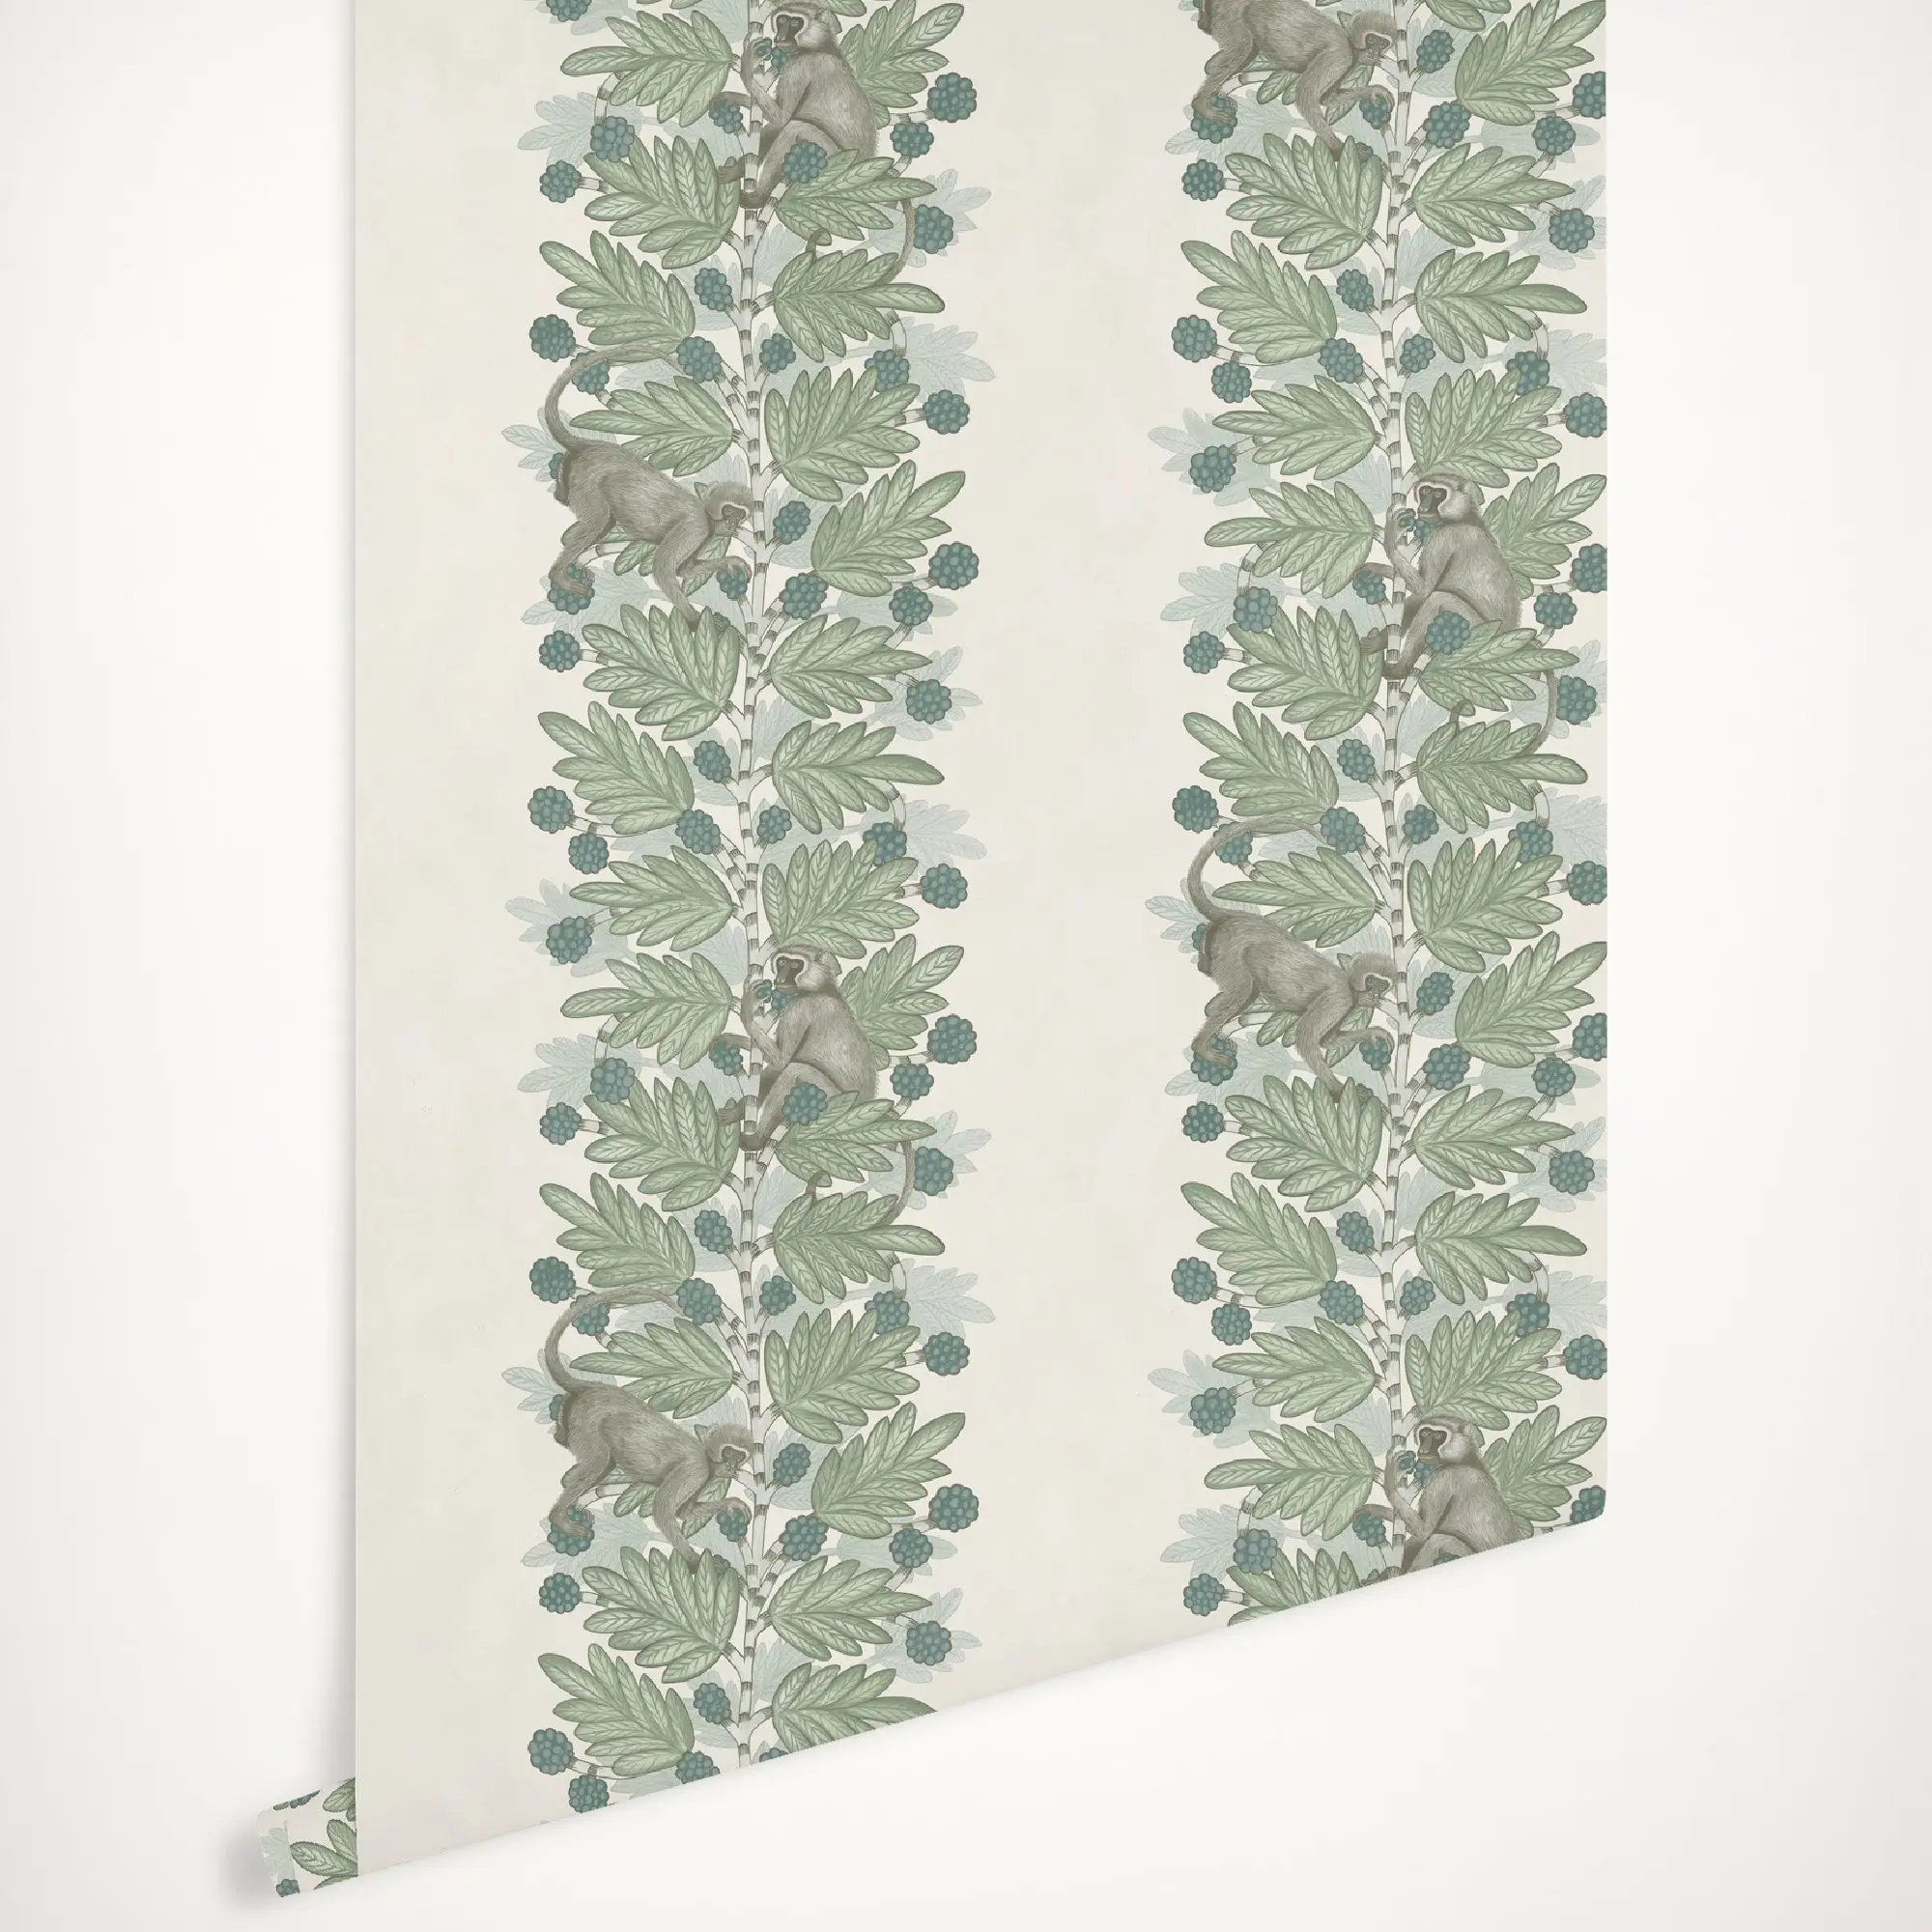
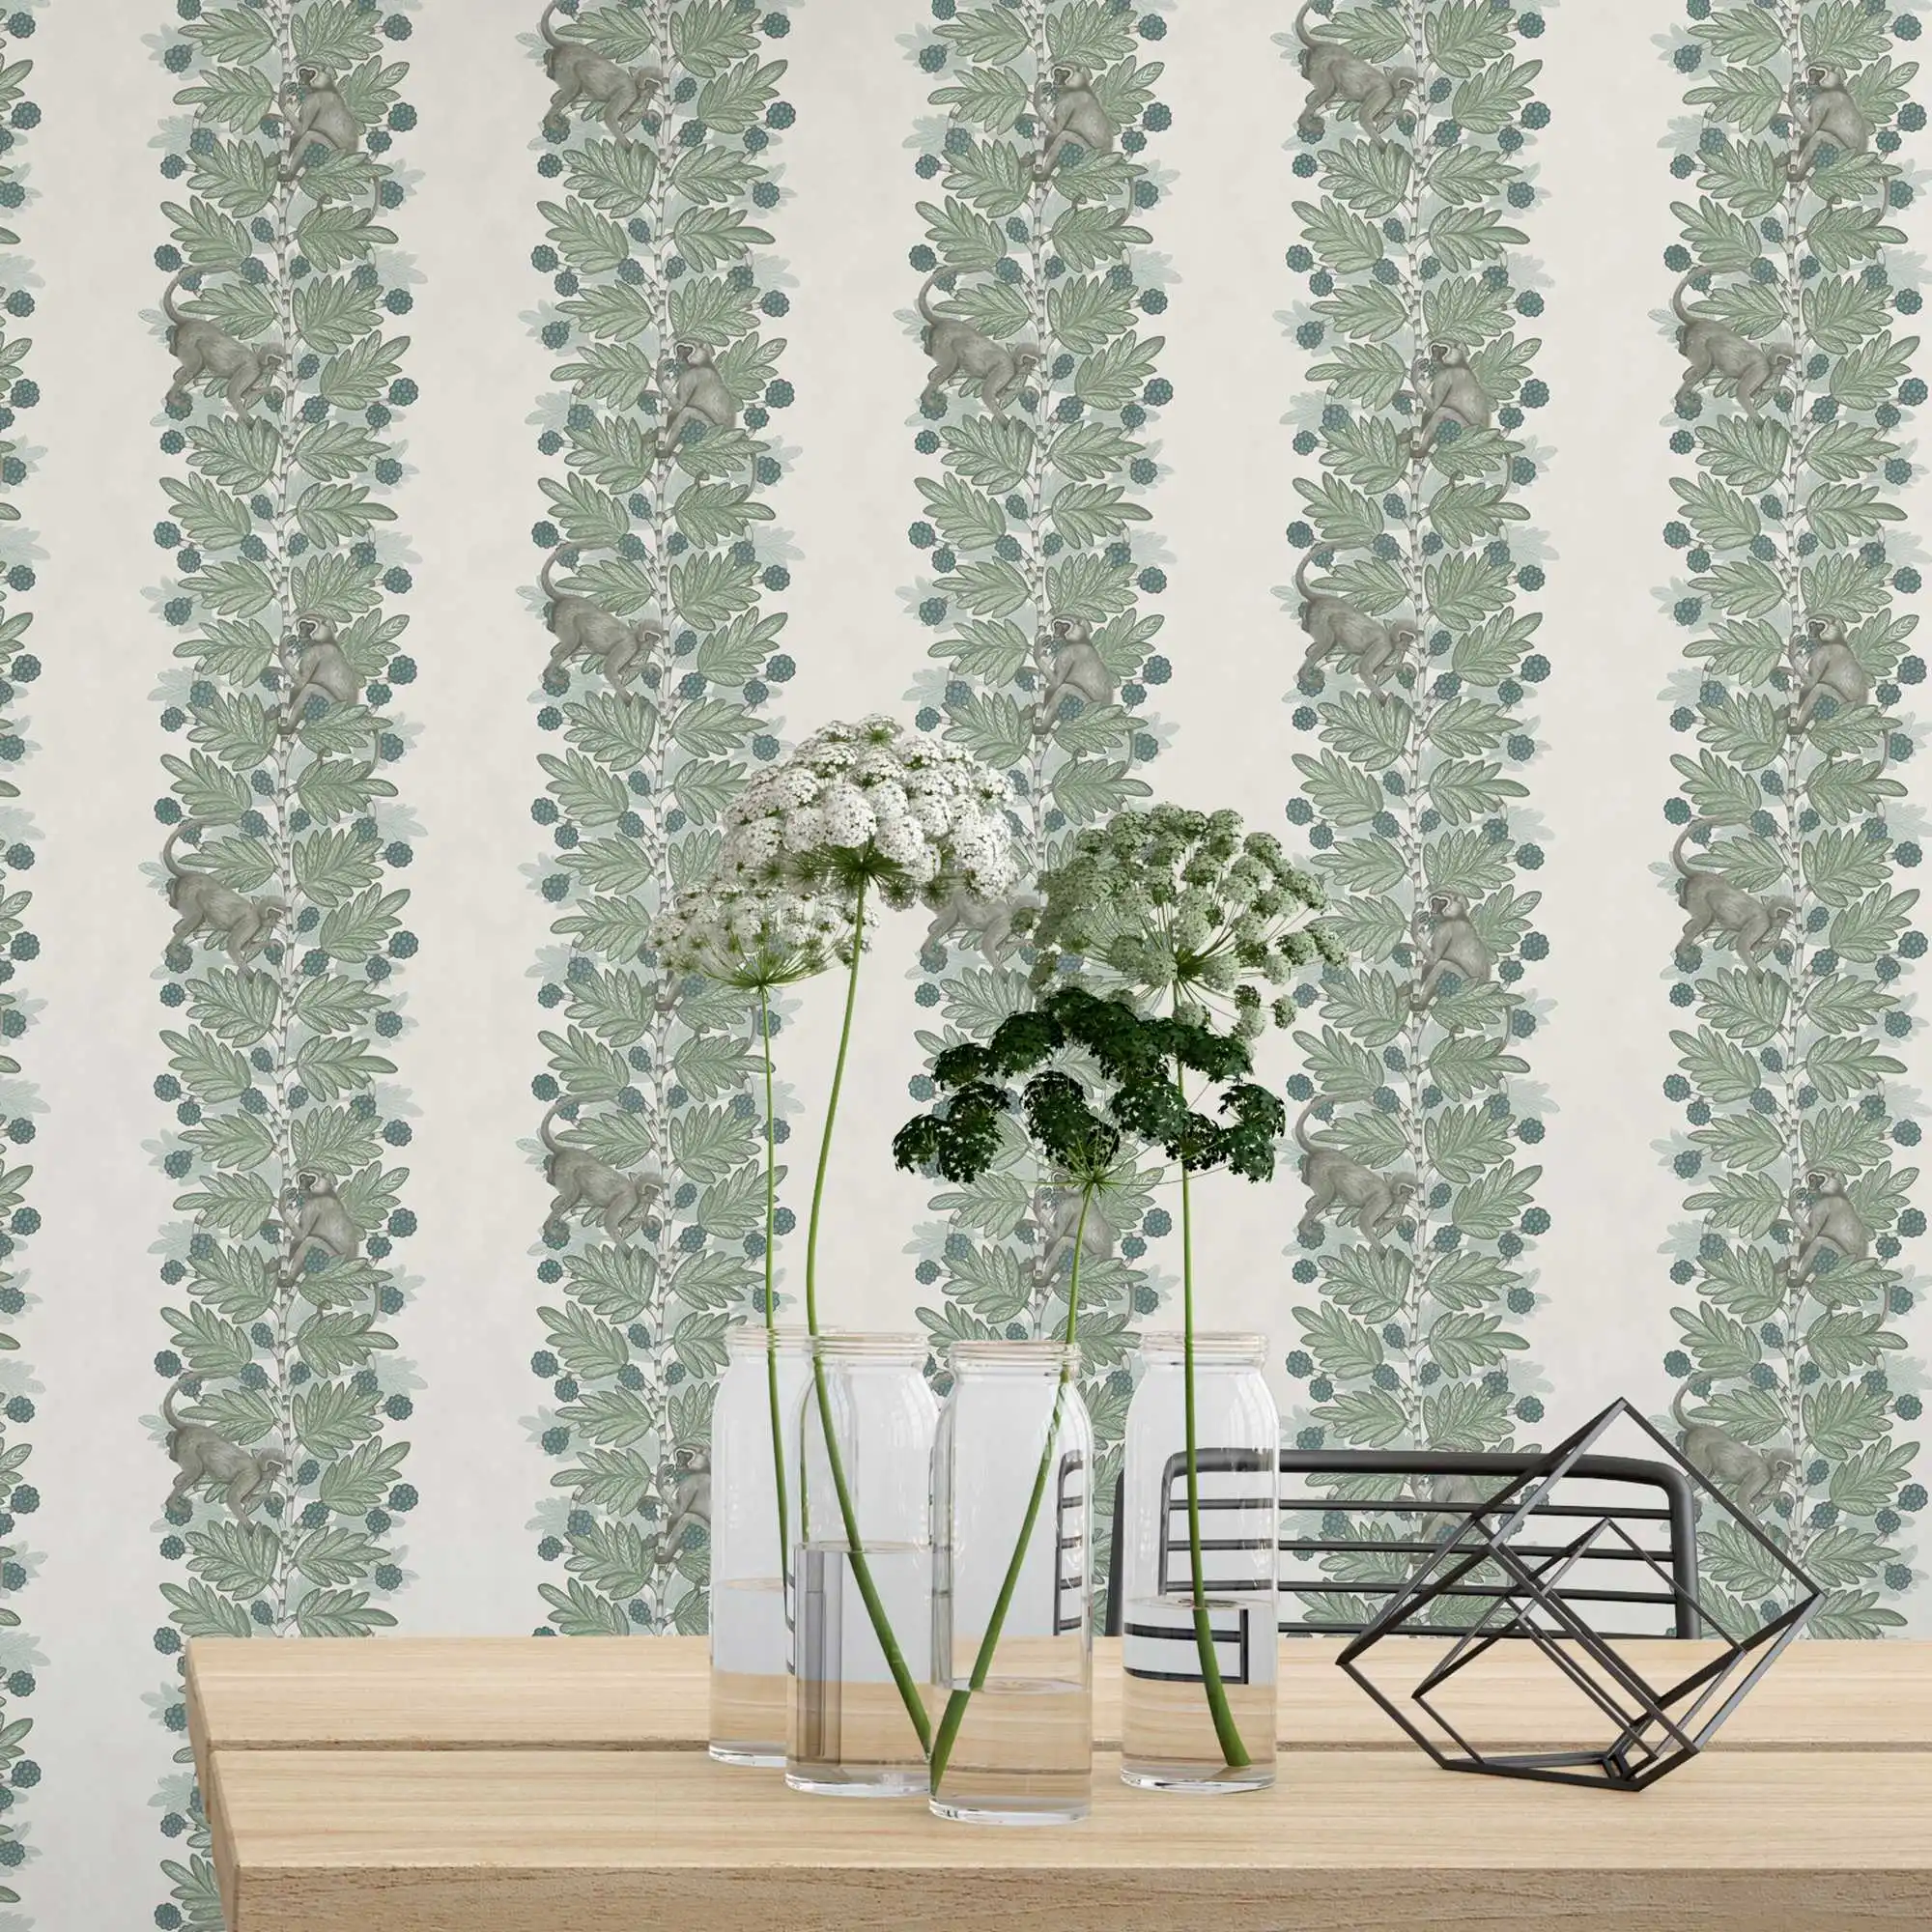
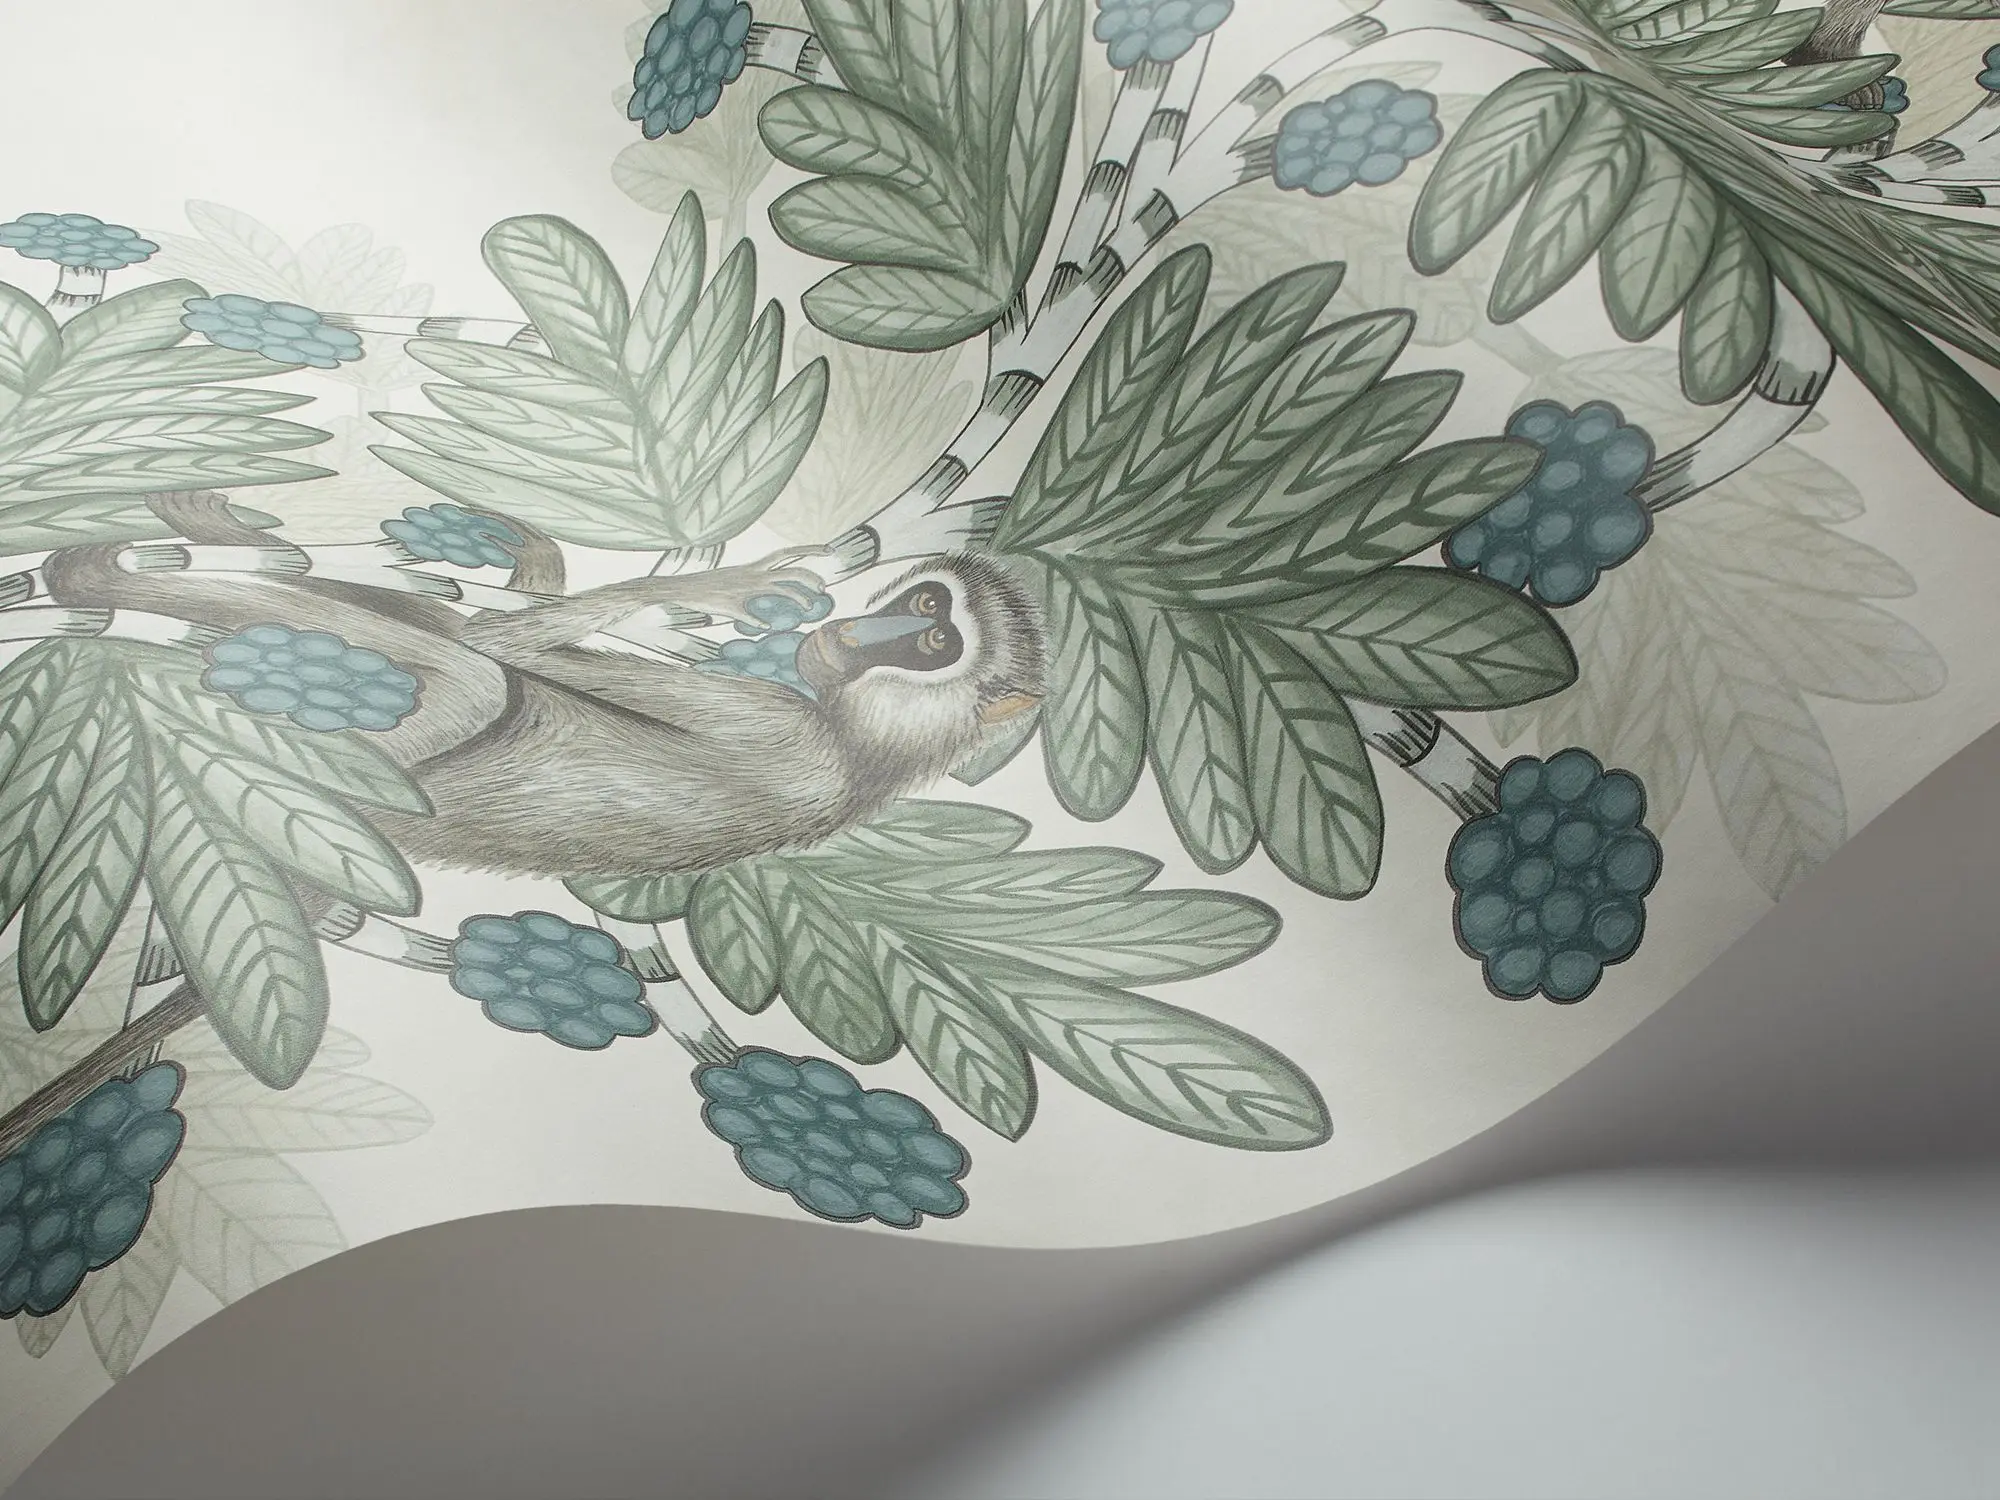
Acacia Wallpaper nordic wallpaper with Monkey climb in beige color scandinavian style | Строительство и ремонт
Сохраните в закладки:


История цены
*История изменения цены! Указанная стоимость возможно, уже изменилось. Проверить текущую цену - >
| Месяц | Минимальная цена | Макс. стоимость | Цена |
|---|---|---|---|
| Mar-20-2026 | 7.33 руб. | 7.79 руб. | 7 руб. |
| Feb-20-2026 | 7.73 руб. | 7.4 руб. | 7 руб. |
| Jan-20-2026 | 6.34 руб. | 6.50 руб. | 6 руб. |
| Dec-20-2025 | 7.12 руб. | 7.84 руб. | 7 руб. |
| Nov-20-2025 | 6.10 руб. | 6.88 руб. | 6 руб. |
| Oct-20-2025 | 7.36 руб. | 7.65 руб. | 7 руб. |
| Sep-20-2025 | 7.23 руб. | 7.43 руб. | 7 руб. |
| Aug-20-2025 | 7.46 руб. | 7.48 руб. | 7 руб. |
| Jul-20-2025 | 7.54 руб. | 7.22 руб. | 7 руб. |
Новые товары
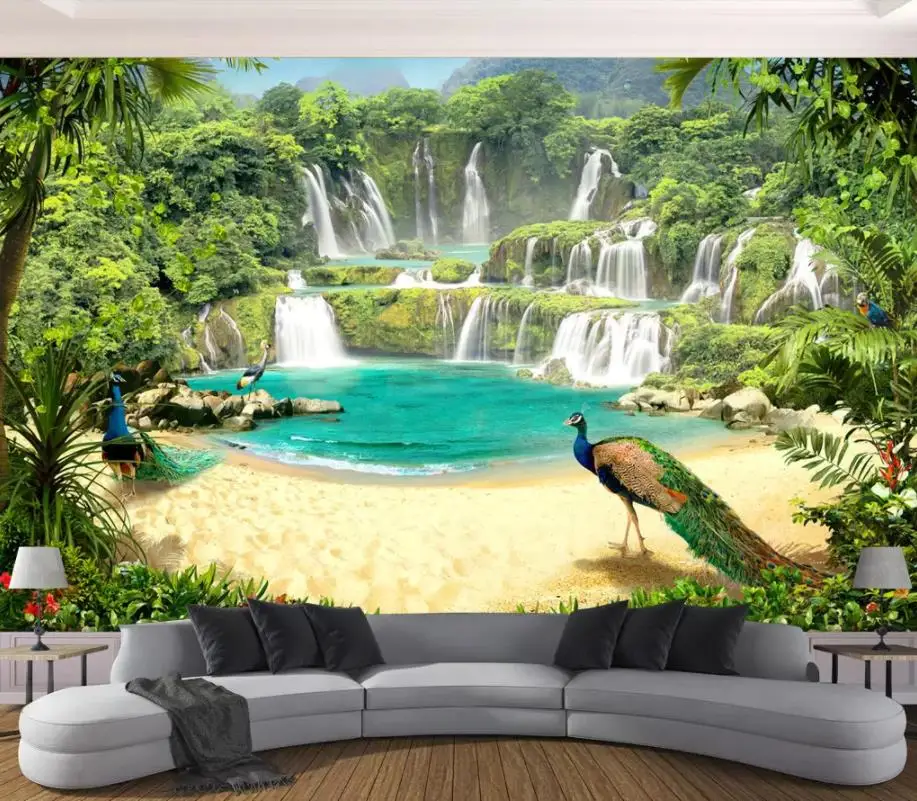
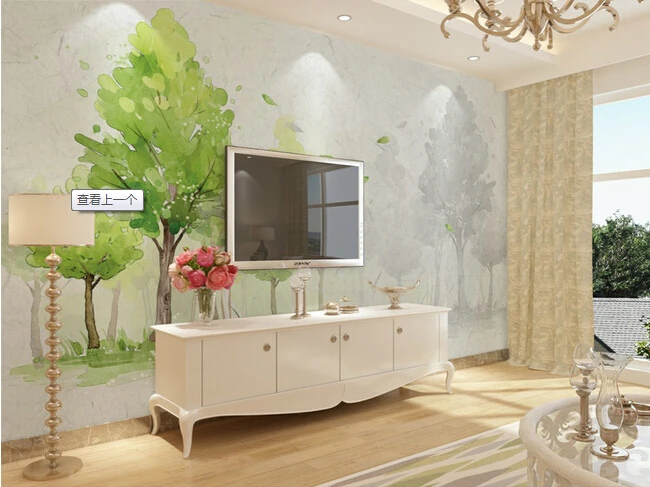
3D украшения для дома водопад озеро пейзаж фотообои спальни стены обои стен 5D
609,18 руб.
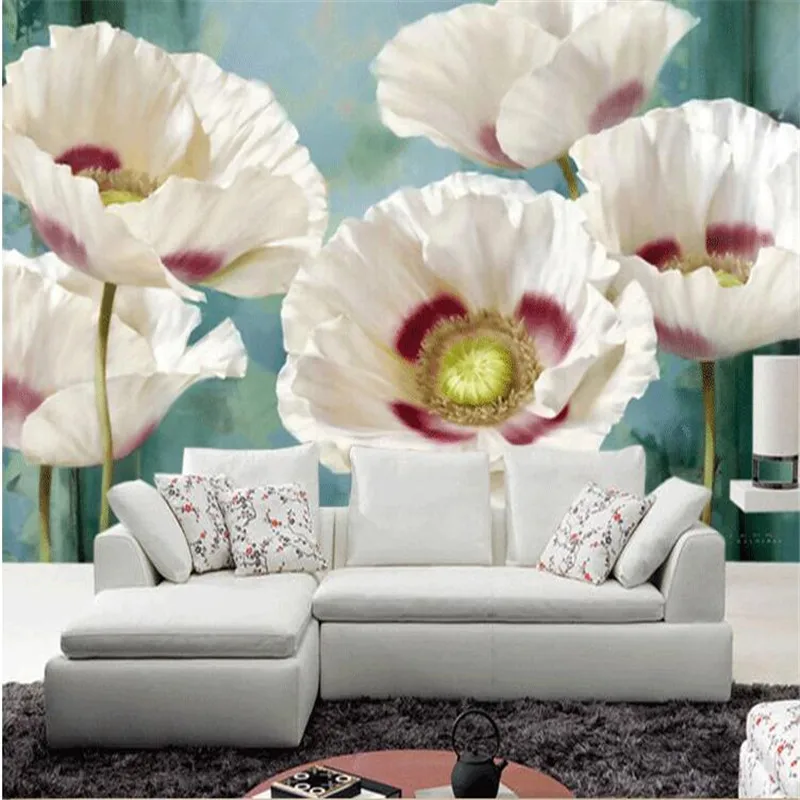
Beibehang пользовательские фото обои простые растения Мак цветы пасторальный
545,39 руб.
Настенные 3d фотообои на заказ декоративные обои в европейском и американском
922,70 руб.
Дешевая утолщенная пасторальная простая Цветочная Нетканая обои для спальни
2 377,06 руб.
Настенные виниловые обои на заказ настенные водонепроницаемые с рисунком
2737.22
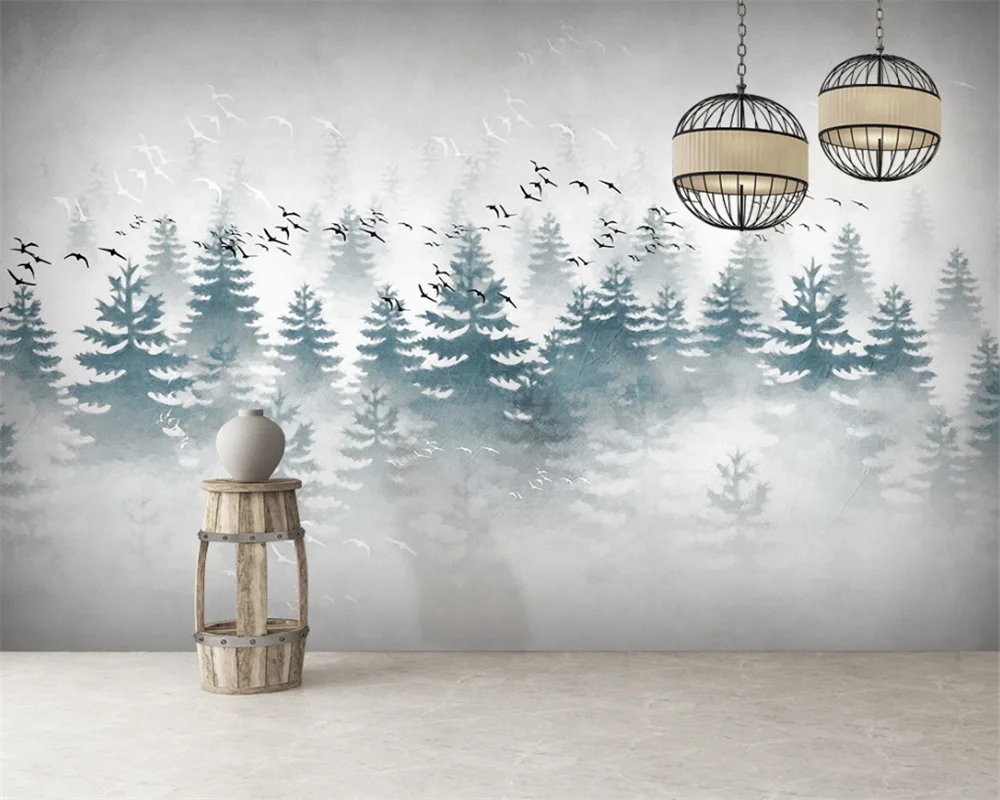
Beibehang новый современный китайский стиль сосна лес облако туман птица ТВ диван фон
565,97 руб.
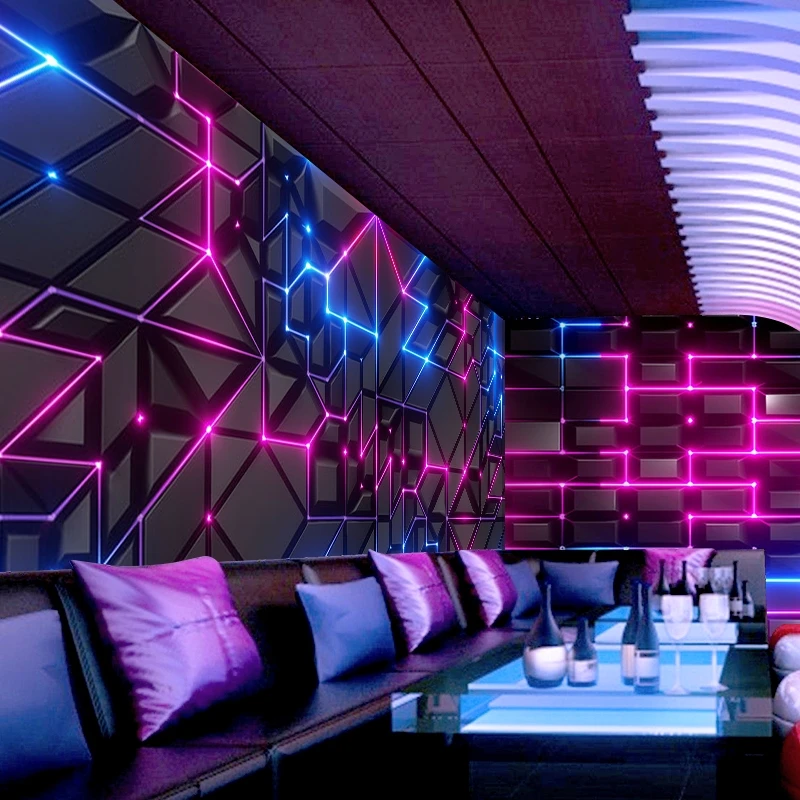
3D-Технология тема KTV E-sports Hotel крутые Декоративные самоклеящиеся обои бар
607,12 руб.
3D обои для гостиной спальни 3d | Строительство и ремонт
565,97 руб.
Характеристики
Acacia Wallpaper nordic wallpaper with Monkey climb in beige color scandinavian style | Строительство и ремонт
Описание товара


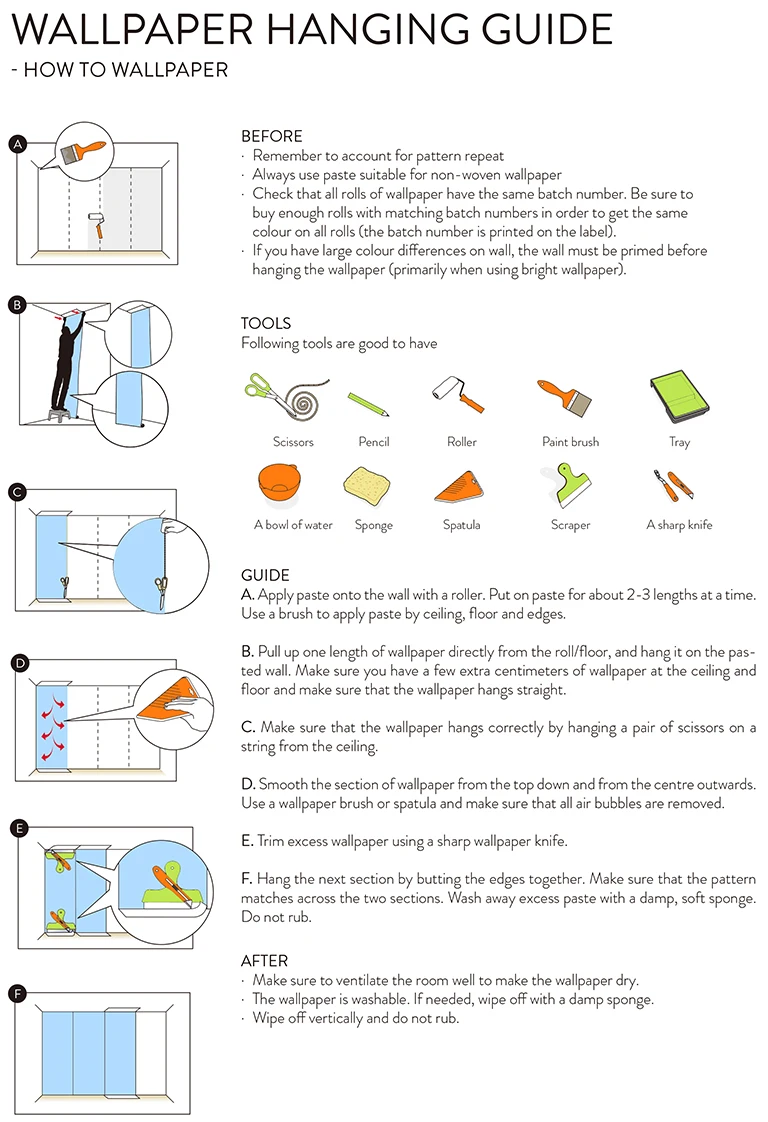
How to apply our wallpaper?
STEP 1: Prepare the wall surface
Your wall must be completely flat, clean and dry. Levels rough surfaces, rough, holes and uneven spots.
Your wall should be a uniform color. If not, you may notice differences in color on your wall once installed. If your wall has multiple colors, we recommend that you paint again.
Make a vertical line with a plumb line on the left edge of the area you want to cover with the mural. If you have a plumb, one can make your own by tying a heavy object on the end of a rope. This line is very important because it is the guide to start placing your mural.
STEP 2: Prepare the wallpaper
The wallpaper panels are made with a width of 50 cm(19.7"). Panels are received printed continuously on a roll and numbered at the top.
Cut independent panels and do a preview on the ground following the numerical order from left to right.
Measure with a meter the height of your wall. If it's less than the photomural, you must cut it to fit properly. Do it while you have it on the floor but leave a margin of an inch to correct any differences in level on the wall.
STEP 3: Prepare the glue
You may buy the glue from your supermarket, confirm it's for non-woven wallpaper use.
Prepare the glue following the instructions on the bag of the glue you bought. Do it slowly. So you will obtain a uniform mixture and without bubbles.
STEP 4: Attach the paper to the wall
Applying glue on the wall evenly using a brush or a paint roller. Start distributing from the line you marked as a guide to the plummet. Don't paste the entire wall, do it only in the area that will cover the first panel on the left, leaving a few inches outside the right.
Apply the first panel of the mural on the wall starting at the top left. Check that is aligned with the guide.
Presses against the paper with a dry roller or sponge to remove any air bubbles.
Place the following panels in the same way in numerical order. The panels must not be mounted on each other but are set on edge.
Clean the excess glue with a damp sponge.
STEP 5: Finishing
With the help of a ruler and a cutter, adjust the sides and the top and bottom of the wall if necessary.
Let dry 24 hours; you will get a perfect final result
Трекер стоимости
Отзывы покупателей
Новые отзывы о товарах

Андрей 23 Декабря 2021, 10:09 #
Самое главное товар доставили очень быстрая и при этом как обычно бывает, не нарушили целостность посылки. Упаковка не нарушено, целая... Читать отзыв полностью...

Анна 19 Декабря 2021, 18:17 #
Здравствуйте , сестрёнка заказала именно такое платьеи ей очень понравилось . Подчеркивает фигуру во время пляжного сезона самое то для... Читать отзыв полностью...

Максим 18 Декабря 2021, 13:02 #
Искал диск именно для запила стропил, стандартные диски не пилят нормально по диагонали, получается закругление. С этим вариантов получилось отлично,... Читать отзыв полностью...

Анастасия 19 Декабря 2021, 00:11 #
Искала платье на Новый Год, много где смотрела, искала. Ничего не нравилось, все одинаковые или с высокой ценой. Случайно наткнулась... Читать отзыв полностью...

Артем 19 Декабря 2021, 01:13 #
Плед брал для дочки, она у меня балдеет от этого сериала про фантастических монстров и героев-красавчиков на черной машине. Не... Читать отзыв полностью...

Ирина 18 Декабря 2021, 17:33 #
Ванночка отлично подходит для деток разных возрастов за счет своих размеров, при этом не занимает много места в ванной комнате.... Читать отзыв полностью...

Лохотрон. Заказывал MECOOL KM6. Заказ не пришел. ... Читать отзыв полностью...